Starting a spray painting project? Getting ready before you begin is key to making your work look like it was done by a pro. In this post, we’ll share five essential tips to help you set everything up just right. From picking the perfect spot to paint to making sure your painting surface is smooth and ready, these steps will help you get great results. Let’s dive in and get your project off to a strong start!
Tip 1: Choose the Right Environment
When you’re spray painting, where you do it is just as important as how you do it. You want to make sure you pick the best place to turn your vision into reality. Here’s how to pick that perfect spot:
- Outside vs. Inside: If you can, try to spray paint outside. Fresh air is your friend when it comes to spray painting, as it helps the paint fumes disperse quickly. But, if the weather isn’t cooperating or you have to work indoors, make sure the room is well-aired. Open all windows and doors, and consider using a fan to keep the air moving.
- Watch the Weather: If you’re painting outside, the weather plays a big role. If its too hot, the paint dries too quickly. If its too cold, it might not stick well. And if it’s windy, you could end up with dust and debris stuck in your paint. Aim for a calm, dry day.
- Keep it Clean: The place you choose should be clean and free from dust. Inside, cover anything you don’t want to get paint on with drop cloths or old sheets. Outside, pick a spot away from trees and busy streets to avoid dust and leaves getting on your wet paint.
- Lighting Matters: Good lighting helps you see what you’re doing and ensures you get an even coat. Natural daylight is best, so if you’re indoors, set up near a large window if possible.
- Space to Move: Make sure you have enough room to move around your project. You’ll be walking around it to spray from different angles, so you don’t want to be cramped.
Choosing the right environment for your spray painting project sets the stage for everything that follows. With a great spot picked out, you’re ready to move on to making sure your surface is prepped and ready to go.
Tip 2: Prepare the Surface
The key to a flawless finish is in the correct preparation. Before you even shake that can of spray paint, your surface needs to be ready to accept the paint perfectly. Here’s how to get your project surface primed for painting:
- Clean It Up: Any dirt, grease, or rust will mess up your paint job. Start with a thorough cleaning. A bit of soapy water can do the trick for removing grease and grime. For tougher spots, a specialized cleaner might be necessary. Make sure the surface is completely dry before moving on.
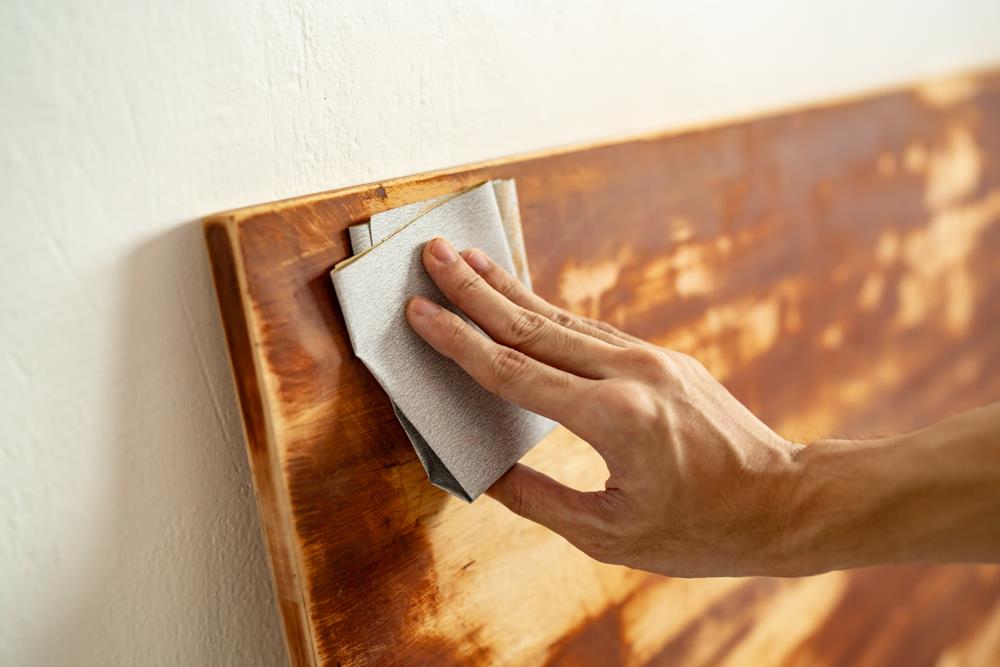
- Smooth Things Over: After cleaning, feel the surface with your hand for any rough spots, bumps, or flaking paint. These imperfections need to be smoothed out. A bit of sanding can make a world of difference. Use fine-grit sandpaper and gently sand the surface until it feels smooth to the touch.
- Wipe Down Again: Sanding usually leaves behind dust that can interfere with paint adhesion. Grab a damp cloth and wipe the surface down to remove any sanding dust. Let it dry completely.
- Use Primer: Not every project needs primer, but it can help the paint stick better and last longer, especially on surfaces that are difficult to paint, like metal or plastic. If you decide to use primer, make sure it’s suitable for the surface you’re working on and for use with spray paint. Apply the primer evenly, following the instructions on the can. Let it dry thoroughly.
- Tape It Off: If there are parts of your project you don’t want to be painted, use painter’s tape to cover them. Make sure the edges are sealed well to prevent spray paint from sneaking underneath.
Taking the time to properly prepare your surface can make the difference between an okay paint job and a fantastic one. With your surface clean, smooth, and primed, youre all set to start spray painting and see those vibrant colors come to life.
Tip 3: Select the Right Equipment
Having the right tools and materials is crucial for a successful spray painting project. This goes beyond just picking a color. Heres how to ensure you have everything you need:
- Choosing Your Spray Paint: Theres a wide range of spray paints available, each suitable for different materials and finishes. Look for paint thats specific to the material youre painting (metal, wood, plastic, etc.). Consider the finish as well—glossy, matte, satin, and more are all options, depending on the look youre going for.
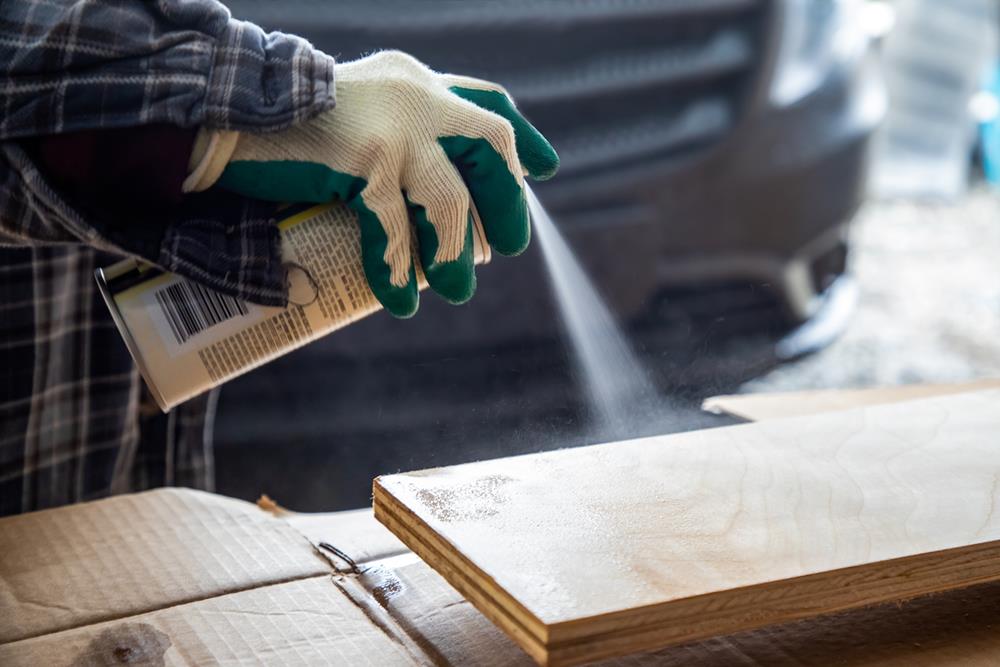
- Safety Gear: Safety should always come first. Make sure you have a good-quality mask to avoid inhaling fumes, especially if you’re working in a less-ventilated area. Gloves protect your hands from paint and cleaners, and safety goggles can help protect your eyes from spray mist.
- Drop Cloths and Covers: No matter how careful you are, spray paint can get places you didnt intend. Use drop cloths or old sheets to protect the ground and nearby objects. If you’re working indoors, consider covering large furniture or appliances with plastic sheeting.
- Tape and Paper for Masking: The painters tape is essential for covering parts of your project you dont want to be painted. You can also use paper or plastic sheets in combination with tape to cover larger areas.
- Sanding Supplies: Depending on your surface preparation needs, have various grits of sandpaper on hand. A finer grit is great for a final smooth-down before painting, while coarser grits are good for removing old paint or smoothing rougher surfaces.
- Primer: If your project needs a primer, choose one thats compatible with both the surface youre painting and the spray paint youre using. Primer can help with paint adhesion and enhance the durability of your paint job.
- Additional Tools: Depending on your project, you might need extra tools. For intricate work, consider stencils or painters tape when creating designs. A handle attachment for your spray paint can also reduce hand fatigue for larger projects.
Gathering the right equipment before you start your spray painting project can save you time and help ensure a smooth process and a beautiful outcome. With everything in place, youre ready to move on to practicing your technique.
Tip 4: Test Paint and Technique
Jumping straight into your project without a trial run could lead to unexpected surprises. Testing your paint and spray technique beforehand can make a big difference. Here’s how to do it right:
- Find a Test Surface: Before you start on your actual project, find a piece of material similar to what you’ll be painting. This could be a scrap piece of wood, metal, or whatever material your project involves. You want this test to mimic the real deal as closely as possible.
- Test Your Paint: Shake the can well, just as you will for your project. Then, spray a bit of paint onto your test surface. This lets you see the actual color and finish of the material, which can sometimes differ from what you see on the can. It’s also a good time to check for any issues with the spray paint nozzle.
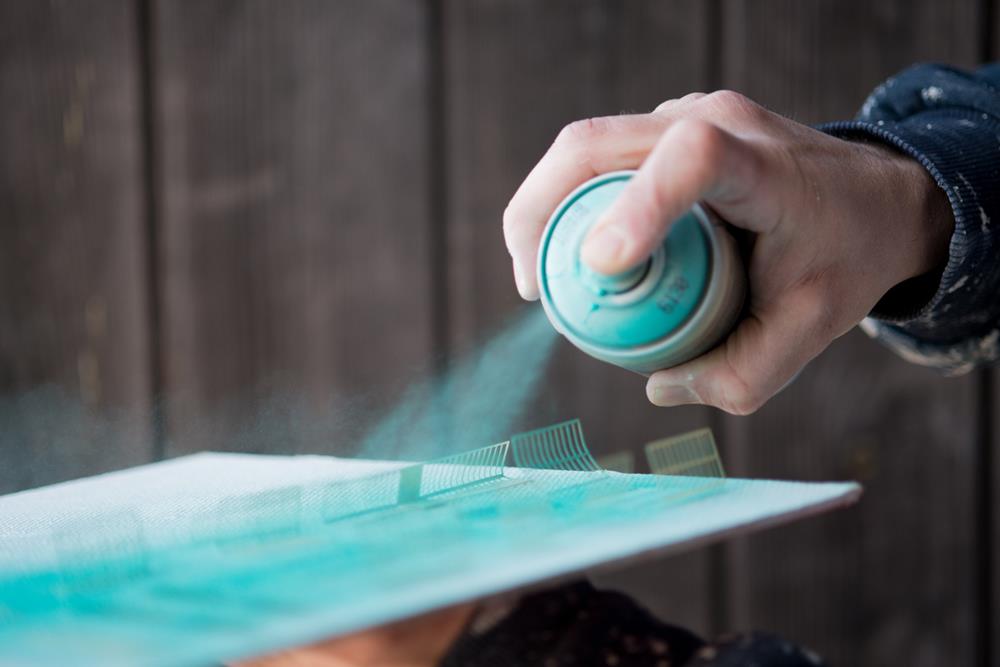
- Practice Your Technique: Spray painting isn’t just about pushing a button. How you move the can affects the finish. Practice holding the can about 6 to 8 inches away from the surface and spray in a steady, back-and-forth motion. Overlap each pass slightly for even coverage. This is also a great time to get comfortable with how fast or slow you should move to avoid drips.
- Try Different Patterns: If your project involves more than simple coverage, use this time to practice any patterns or designs you plan to create. Use stencils, masking tape, or freehand techniques to see how they’ll look.
- Adjustments: Your test run might reveal that you need to make some adjustments. Maybe you need a different nozzle for a finer mist, or perhaps the color isn’t what you expected. It’s better to find out now rather than halfway through your project.
Testing your paint and technique gives you confidence and helps ensure that when you move on to your actual project, you’ll achieve the results you’re aiming for. With this step completed, youre not just ready to start; youre prepared to excel.
Tip 5: Follow Safe Measures and Protocols
Safety is paramount in any DIY project, especially when dealing with spray paint, which contains chemicals that can be harmful if not handled properly. Heres how to keep safe while achieving great results:
- Wear Protective Gear: Always wear a mask designed to filter out paint fumes. This is crucial in enclosed spaces but recommended even outdoors. Gloves protect your hands not only from paint but also from solvents used in cleaning. Safety goggles shield your eyes from fine mist and accidental splashes.
- Ensure Good Ventilation: Work in a well-ventilated area to prevent the buildup of fumes. Outdoors is best, but if you must work indoors, open all windows and doors. Use fans to help circulate the air, directing fumes away from you and out of the room.
- Be Mindful of Fire Hazards: Spray paint and certain cleaners are flammable. Keep them away from open flames, sparks, and extreme heat. This includes cigarettes, matches, and operating heaters or stoves.
- Read Labels and Instructions: Before using any product, carefully read the label and follow the manufacturer’s safety instructions. Pay attention to warnings and suggested protective gear.
- Safe Storage: Store spray paint cans in a cool, dry place away from direct sunlight and extreme temperatures. Make sure theyre out of reach of children and pets. Properly seal any solvents or cleaners used during your project.
- Dispose of Waste Properly: Follow local regulations for the disposal of spray paint cans, solvents, and any other materials used during your project. Many communities have specific guidelines for hazardous waste to ensure safe disposal.
- Be Prepared for Spills: Have cleaning materials ready in case of spills. Knowing how to quickly and safely clean up paint can prevent it from spreading and reduce exposure to skin and eyes.
- Take Breaks: If youre working on a lengthy project, take regular breaks to get some fresh air. This can help reduce prolonged exposure to fumes and give you a moment to rest.
Following these safety measures and protocols ensures that your spray painting project is not only successful but also safe for you and those around you. Safety should always be your top priority, so take the necessary precautions to protect yourself throughout your project.
Conclusion
These five tips are your guide to a successful spray painting project. From choosing the right place to paint to making sure everything’s safe and sound, every step is important. Remember, good prep makes for a smooth project and stunning results. So take your time, follow these tips, and enjoy transforming your space with a splash of color.
Additional Tips
- Research and gather quality spray paints with a reputation for delivering expectations. Watch tutorials online and learn from the best so you can execute stunning murals, sketches, and designs.
- Good ventilation, as weve mentioned earlier, is very important when spray painting. There are many practices you can implement to ensure good ventilation, so refer to official guidelines and advice before starting.
- Having the right Personal Protection Equipment (PPE) will give you safety and comfort while you paint. Invest in a respiratory mask, safety goggles, and disposable gloves to help protect you from any blowback from the paint.


