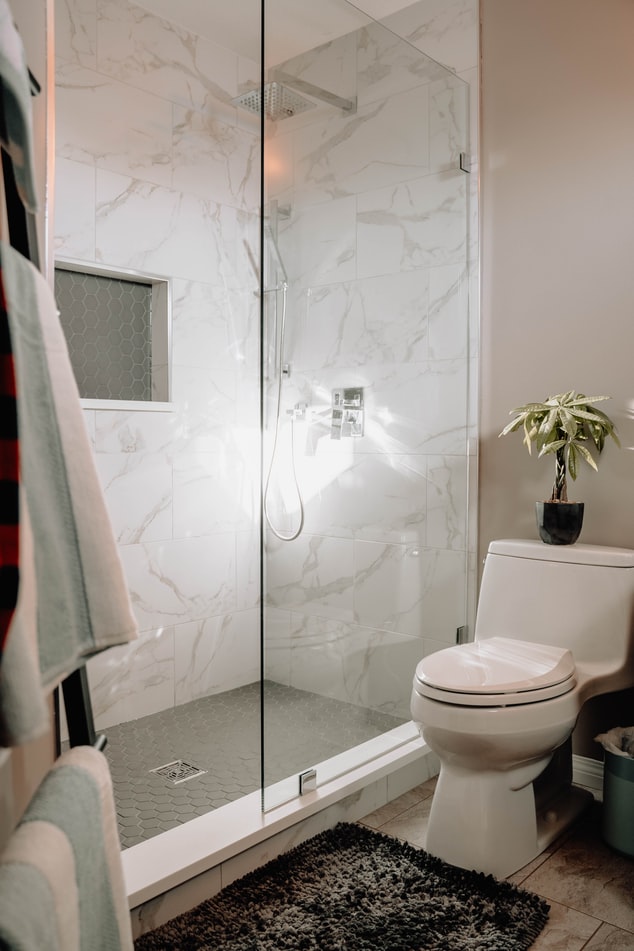
Bathrooms start to leak when the seal underneath fails. Hence you might need to check if that has happened and learn how to fix the leakage. It is not hard to suspect leakage in the bathroom. One sign is waterlogging at the base of the toilet. However, this is hard to notice if your floor is flooded by water from other sources apart from the leakage.
Here are 5 tips when repairing leaking bathrooms.
1. Confirm water is coming from underneath the toilet
If your bathroom floor is water-logged, first dry the water with a sponge. After this, wait until some new pool of water forms on the floor. Look underneath the toilet or be sure to observe that the drops or seepage are coming from beneath the toilet.
2. Try to stop leakage by tightening closet bolts
These bolts are used to secure the toilet to the floor. Sometimes it is possible to simply stop the leakage by tightening the bolts. Pry off the caps covering these bolts. This can be done using a putty knife or slotted screwdriver. Tighten the bolt using a wrench. However, applying too much pressure might crack the base of the toilet so be careful. You should also try to use mastic man and bathroom sealants to stop any leakages.
If unable to fix the leakage, follow the rest of the tips below.
3. Remove the toilet
First turn off the shut-off valve by turning its handle in the clockwise direction and all the way, to turn off the water entering the toilet. This valve is located behind the toilet, in the basement, or crawl base below the toilet.
Take off the toilet lid, flush the water, and hold the handle down. This ensures you remove as much water as possible. Dry the water remaining in the tank using a sponge or small paper cup. Loosen the compression nut on the shut-off valve. This will disconnect the water supply tube. Remove the nuts from the closet bolts using a wrench.
Rock the toilet back and forth as you grab the bowl rim below the seat hinges. This will break the wax seal.
Lift the toilet and place it on a blanket or cardboard piece.
4. Scrap off old wax from the toilet gasket and flange and apply or set new wax
This can be done easily using a narrow putty knife. The old wax on the closet flange needs also to be cleared.
After this, ensure there are no cracks on the flange and the toilet that could cause the leakage. Otherwise, replace the flange. You can also fill the missing pieces using repair straps.
Take new wax and set it down on the closet flange but ensure it perfectly sits at the center. A wax gasket has a ring of solid wax. You can also use mastic man and bathroom sealants to put off any leakages.
5. Restore the toilet to the position
Lift the toilet and walk it over to the flange position. Use the closet bolts to guide you to set it on the wax gasket. Place the washers onto position and thread the nuts over the bolts. Press the bowl rim down with your weight to compress the gasket. Tighten the bolt. The toilet tank should be kept parallel with the back wall as you keep tightening the bolt.
Check that the water does not leak.
