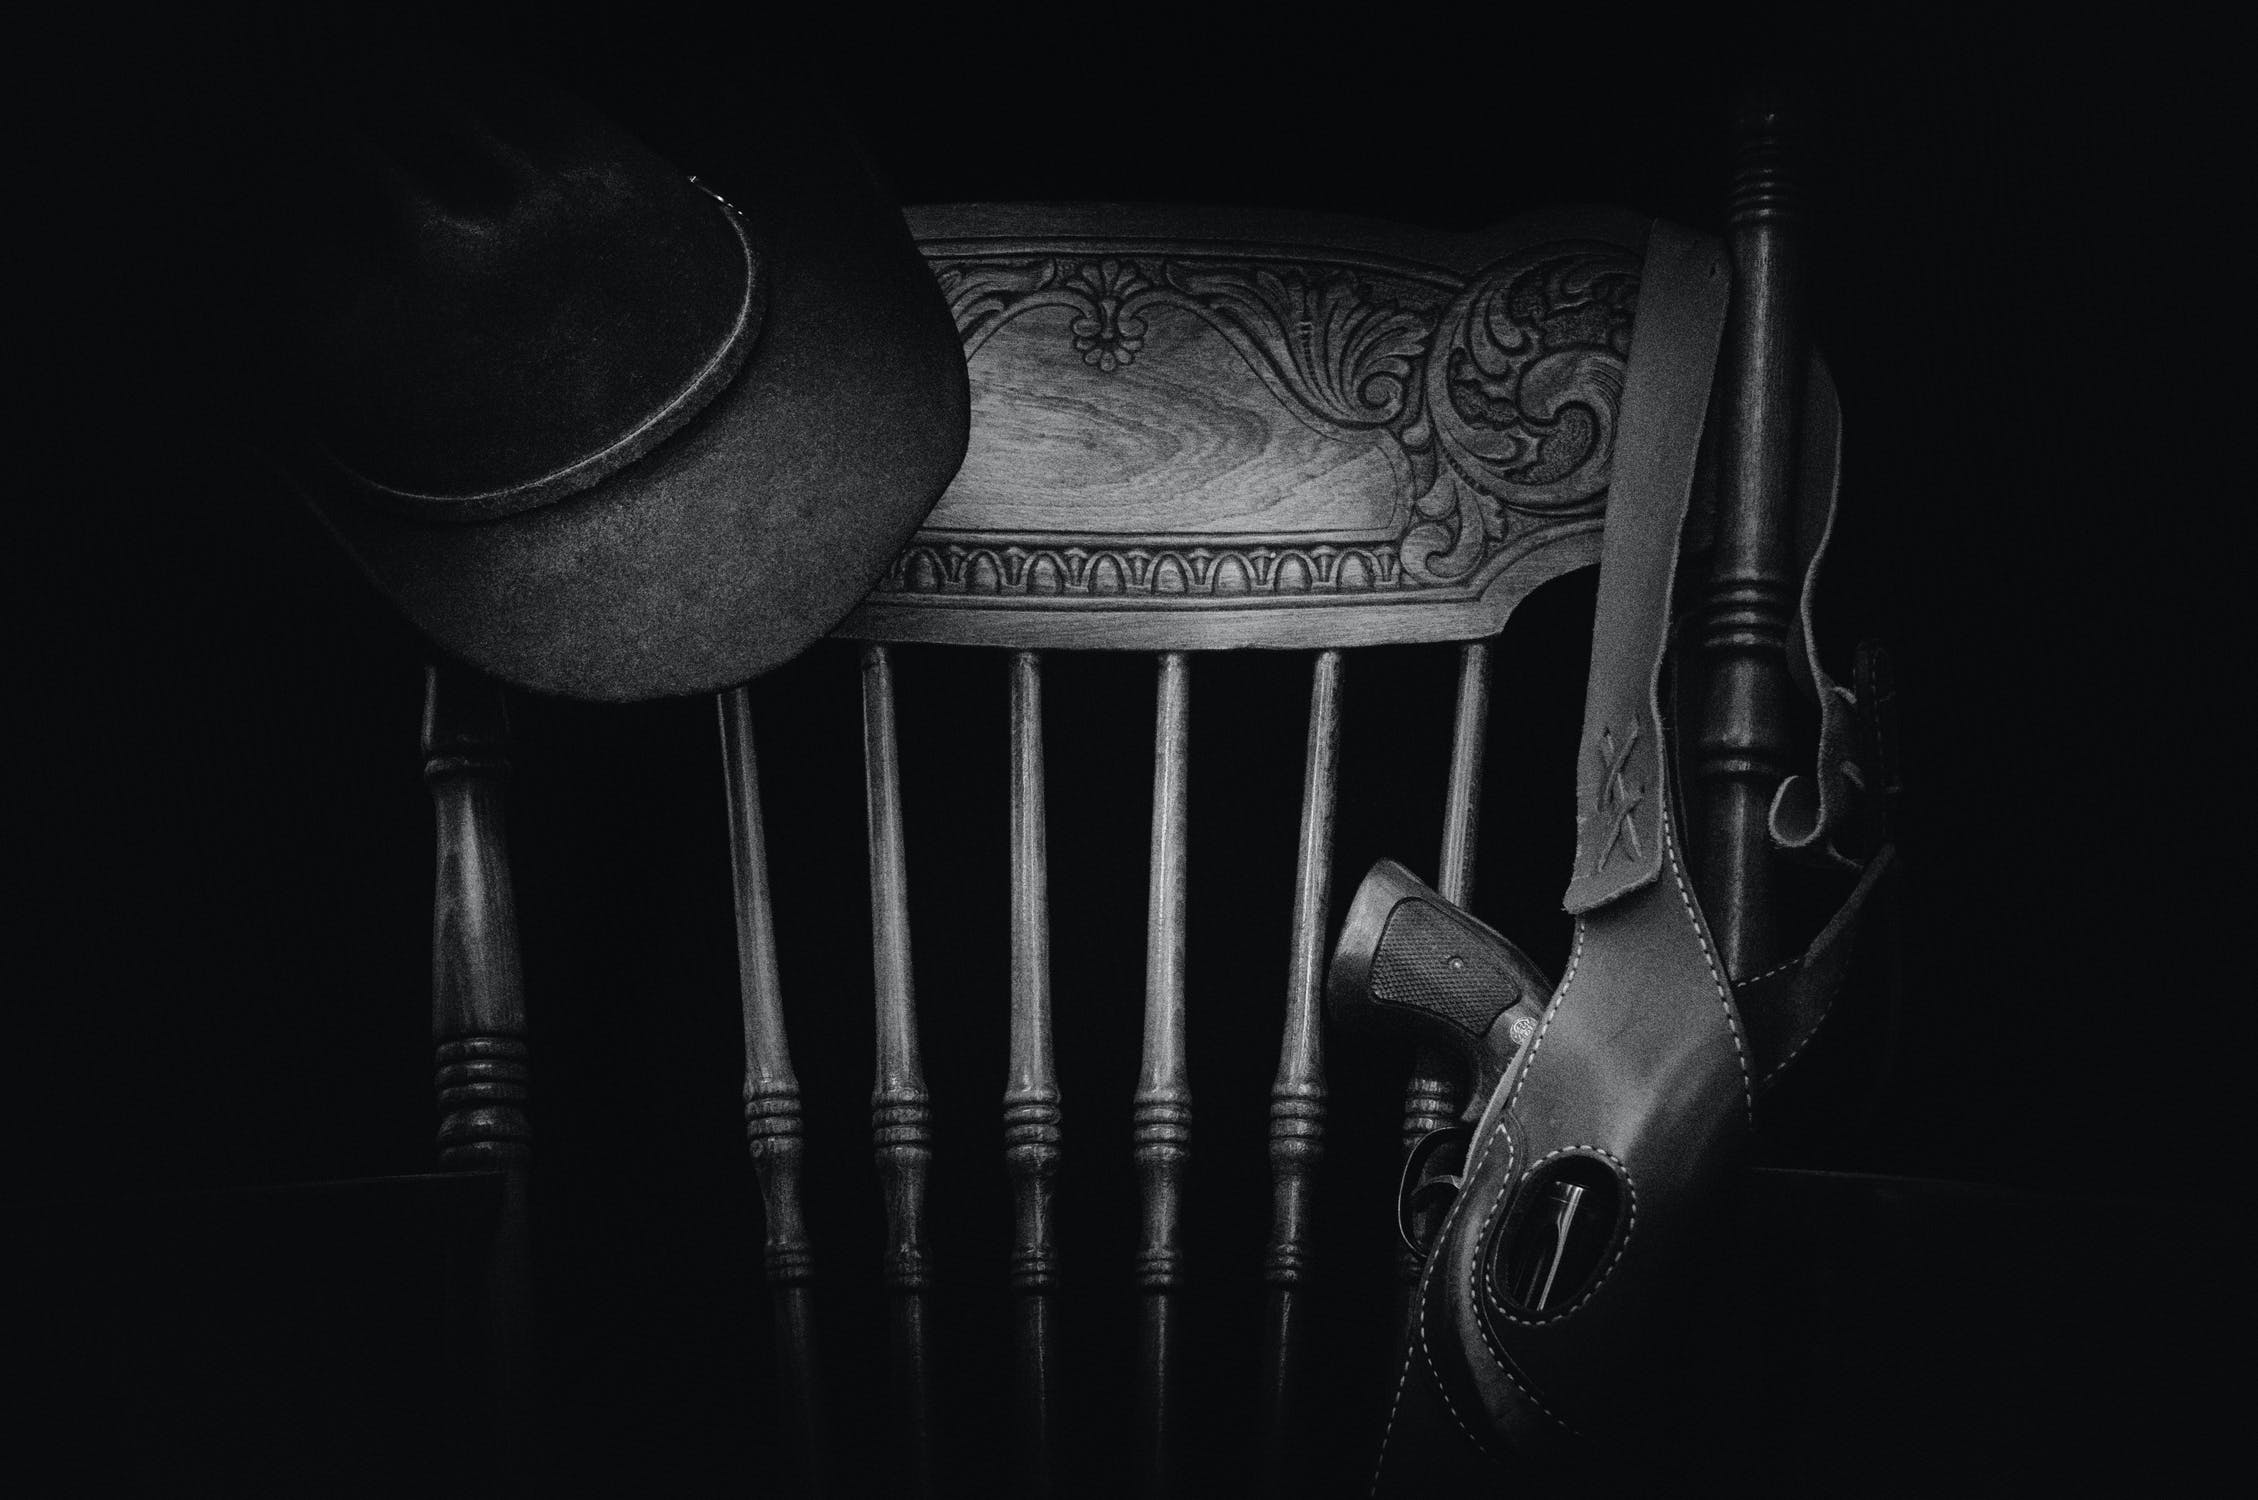
If you own a handgun, you may want a holster to carry it. There are many holsters that may be available for your particular handgun. However, if you’re not satisfied with the design or want to save some money, you can always make a holster of your own design with a few basic steps.
Also, if you’re a left-handed person, you may find it a bit hard to find many holster options for you.
In this article, we’re going to show how to make a Leather Holster For Revolver with a simple and easy process.
Why a Holster is Important?
Holsters are essential to carry a gun. Besides, it helps protect your valuable rifle, especially when you travel. Furthermore, use a Useful Gun Cleaning Tool to clean it properly. If you love your gun and want to use it for a long time, there is no alternative to clean it after every use.
How to Make A Leather Revolver Holster?
Gather necessary tools
First, you need to purchase some tooling leather. There are a few tools you must have to follow the process we are going to guide you next. Here’s the list of must-have items.
- Rawhide mallet
- Leather sewing palm
- Stitching awl
- Edge beveller
- Pricking wheel
- Adjustable groover
- Two harness needles
- A pair of leather shears
- A sharp knife
Additional Item List
- A good grade leather contact cement
- Leather Weld
- Leather dye
- Edge cote
Make a template
- You can use folder cardstock to make a cardstock template. First, lay your revolver on the cardstock and trace around it. Don’t forget to leave additional room for molding while tracing.
- Cut a large piece of cardstock that holds your trace lines. Make someone the cardstock to the position where you’ll wear the holster to find a suitable position for belt loops. Drew belt loops where you want them and cut out the leather from the slot of belt loops.
- Mark the outside of the template onto the smooth side of your leather. Then, carefully cut out the shape with a sharp knife. You don’t have to cut the belt slots again.
- Trace stitch line on the inside of both halves to prevent gluing the area where the revolver will be inserted.
- Dye each side before gluing the leather.
- Cut out the belt slots after two pieces are glued together.
- Use an edge beveller to round off the outside edge. You can also bevel the belt slots if you want.
Grooving and hand punching the stitch lines
- Trace the stitch lines in front of the holster blank. Cut a groove around the stitch line with a groover. Then, lightly dampen the groove and use the pricking wheel to mark inside the groove for your stitches’ proper spacing.
- Use a stitching awl and a rawhide mallet to hand-punch each stitch hole. It would help if you were very careful with the steps. If you don’t maintain the awl straight up and down, stitching holes will not be spaced the same on both sides of the leather.
Stitching the holster
- First, measure the overall stitching distance of a section, then multiply it by four and double that to calculate the length of the thread.
- Pick a hole to start sewing. Push one needle through a hole and bring two needles side by side by continuously pulling the thread.
- Now, while you are at the center of the thread, push the needle on the front side through the next hole in line with the sewing palm.
- Then, push the other need through the same hole from the opposite direction. As the needles are reversed, pull the thread on both sides with a firm and even force.
- When you reach the end of your stitch holes, it’s time to lock the stitches with a couple of stitches in the opposite direction. It may get a little to push the needle through. That’s where sewing palm helps. Now, cut the remaining thread carefully and start sewing the next section. And repeat.
Wetting the holster
Pull the open area of the holster and moist it with hot water. Get the leather wet but not soaked. Repeat the same thing with the outside part of the holster.
Molding the holster
- Now, carefully insert the revolver into the holster. You’ll need the same amount of molding in both the front and back surface of the holster. So, start rubbing the leather with your hand. Then, use a hard, smooth object to mold the leather. You need to mold the specific shape of the revolver into the holster. Slide the revolver out a few times to see the specific indentations. Then, push the revolver to the holster and continue to work on the leather with the hard object.
- After smoothing the front and back surface for a considerable amount of time, you’ll begin to see the actual shape of your revolver.
Burnishing the holster
The leather will start to dry. Before it completely dries out, start burnishing around the edges and also on the surfaces. And by telling you to burnish, we’re asking to rub back and forth with firm pressure to smooth out the leather’s finish. The more you burnish, the smoother will the holster will look.
You can try out a water-resistant product after burnishing to make the holster water-resistant. Water-resistant products protect the leather without softening it. Remember, your leather should remain stiff.
Conclusion:
Now, you know the basics to make the leather holster of your own. Find some good leather and buy the necessary tools. You may not get a great shape and look at the first try. Don’t hurry and carefully follow these steps we have described.

