In this modern age, being tech-savvy doesn’t have any impact unless you’ve deep expertise in top-notch editing and handy applications. Sometimes you need to record a narrated lecture of slideshow in PowerPoint, format the slides of lectures via Google slides, report data to your team, review a notable product to the customers, create online courses slideshows or training videos for blended & flipped classrooms, course assignments for students and a pile of professional development activities. All these mentioned essentialities require a screen and audio recorder at the top of its list.
Undoubtedly, you might think of Microsoft PowerPoint as the application you can use when you’re speaking to your audience. But hold on! What if that audience can’t be in the same room as you or if you want to record the Facecam at the same time? Well, here we go with the need for the solution of screen recorder with audio. Stick with us to find out more.
Wondershare DemoCreator for PowerPoint Screen Recording
All it requires a powerful yet handy application for PowerPoint screen recording like DemoCreator, which can auto-detect the input device you connected with your computer for PowerPoint slideshow recording and it gives you a choice to record your system audio or go for the microphone instead. The same goes for the Webcam facility. You can choose to record screen, system audio, specified microphone, and personal webcam as well, all possible with the DemoCreator.
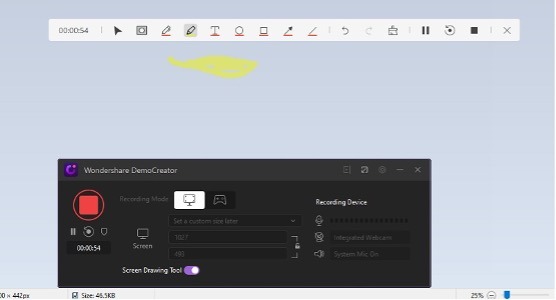
Furthermore, for your presentation videos, you can also perform a variety of screen drawing customization in real-time with this masterpiece software.
How to Record Your Screen with DemoCreator
Here’s the step-by-step guide of how you can perform the screen recording with DemoCreator software.
Step1: Download and Install DemoCreator For Windows or macOS
Before you dive in to act, here’s the deal to kickstart. That’s to install this software inside your system. At a glance, it doesn’t matter if you’re on Windows or macOS as DemoCreator is here for both the OS support. You can download from the official website.
Right after, you’ve downloaded. Now you can perform a handy installation to embark on your PowerPoint screen recording.
Step2: Configure audio and webcam recording settings
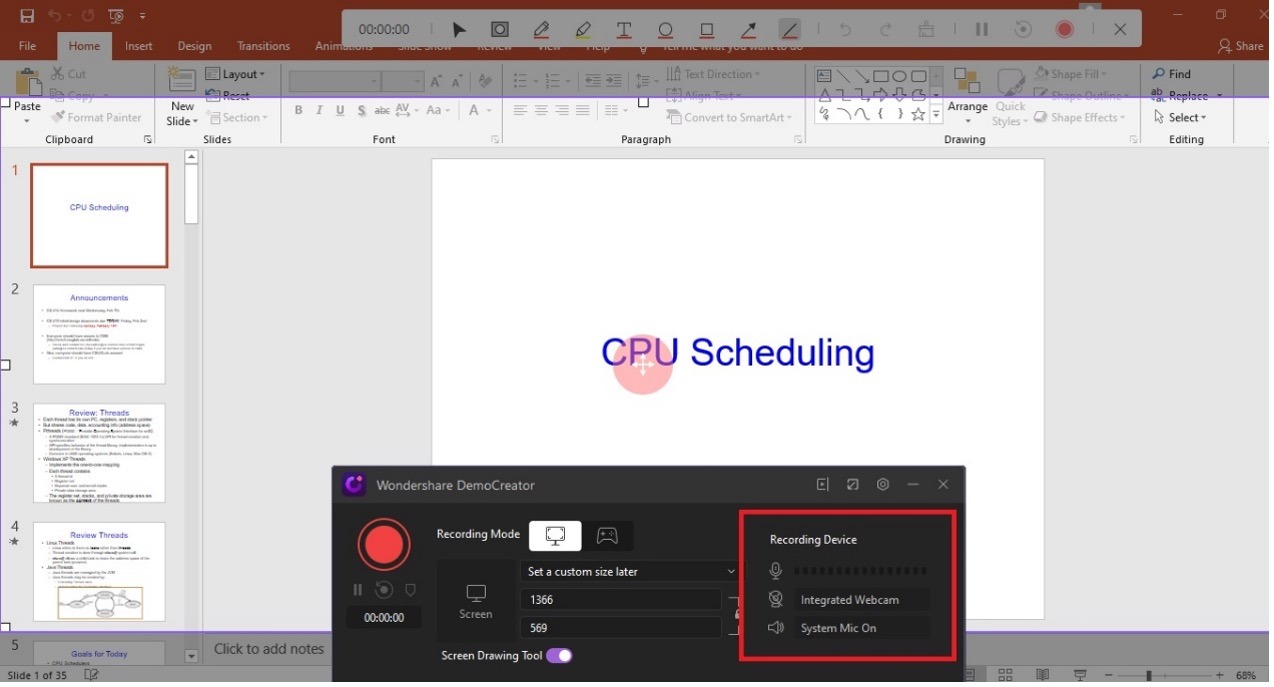
After you’ve launched DemoCreator, go for the New Recording button and here you go. Inside the DemoCreator screen and audio recorder interface with a pile of customization options to opt for your desired one. You can eventually opt for audio and webcam settings from below highlighted part.
Step3: Record your screen video with audio and webcam as your choice
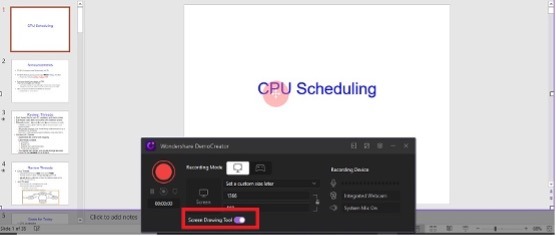
DemoCreator also lets you specify the screen of your own choice as well as you can also opt for the automatic application capture mode where it detects the opened application whether it’s PowerPoint or Google Slides, you can catch the screen with this customized DemoCreator screen and audio recorder. You can also slide the screen drawing tool if you want to make some annotations when recording.
Step4: Start your recording
In the next step, go with the Red-circled recording button that will start the recording just after a countdown to make you ready for the PowerPoint screen recording.
Now inside the recording section, you can select the screen region and the Magnifying feature will help you to accurately the edge you want to record. You can also use the spotlight feature inside the Screen Drawing toolbar to stress some points.
Step5: Click F10 to stop the recording or click the button
After you’re done recording, hit the Stop button inside the recorder, and for your easiness, you can also strike the F10 key from your PC keyboard to halt the recording effectively.
Edit your Recorded Video
Your video will then process to your media library. You can drag the video to the timeline and trim and do another editing to them. What’s more, you can also upload your video, audio, or picture to edit, which will improve the richness of your resource when you doing some presentation video. Here’s a brief of each tool you can utilize after recording the PowerPoint screen recording.
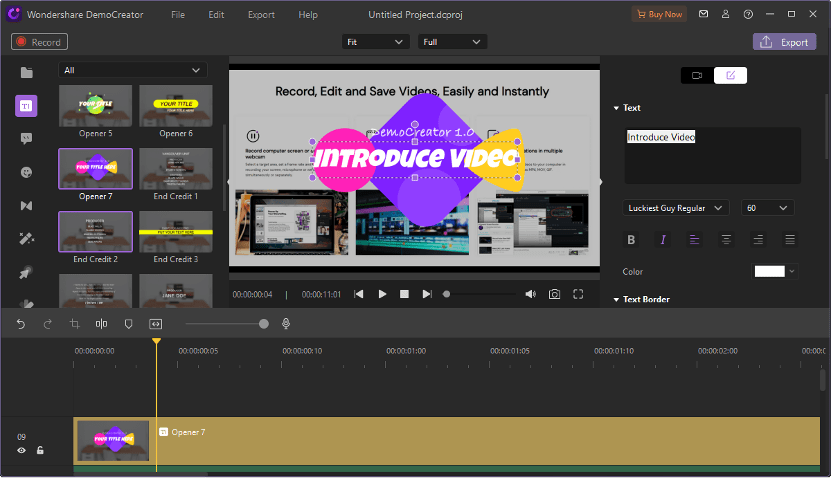
- Add Caption: You can add captions to your video, as well as you can add Openers, title, subtitle for your video from this section handily.
- Zoom and Pan Effect: To opt for this effect, go to Effects > Zoom and Pan effect which will allow you to utilize this zooming feature when you want to drive the attention of your audience and give them a detailed view.
- Audio Fade in and out: With the fade in and fade out feature of DemoCreator, you can customize the audio points to ensure high-quality audio in your recording with a simple drag and drop functionality.
- Add some Dynamic Stickers: Stickers play an important role in seeking attention and with DemoCreator, you can utilize stickers for background, education, game, gestures, and social media just by going to the Stickers menu bar from the toolkit.
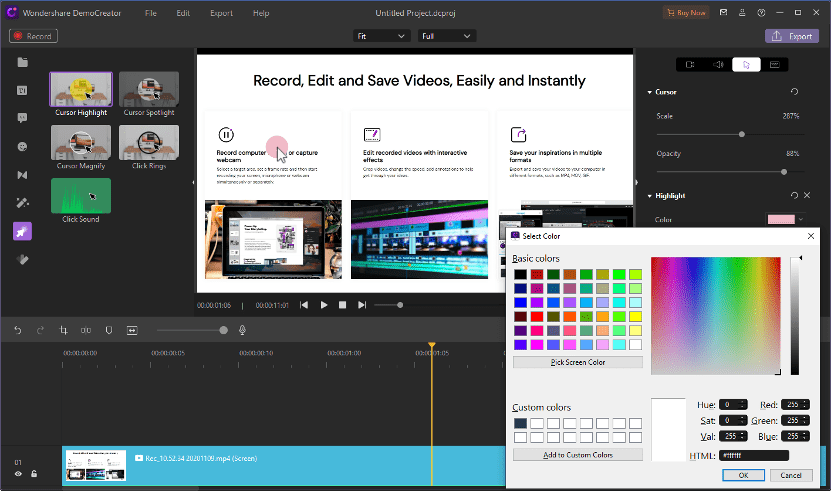
- Cursor Effects: Cursor effects are important for PowerPoint screen recording and DemoCreator lets you add numerous types of cursor effects to help attract your viewers’ attention by utilizing different cursor effect to your recorded content. You can even custom the color of the cursor. You can go for this feature by Cursor Effects menu from the left side of the DemoCreator interface as shown below:
Summing Up
Wondershare DemoCreator is albeit a wonderful toolkit with an all-in-one screen recorder and video editor that comes with the default installation of this software. Being a beginner, you can easily get hands-on expertise of PowerPoint and Google slides recordings for numerous types of lectures, tutorials, and everything under the sun for online learning purposes. The special functionality of a screen recorder with internal audio lets you opt for this advanced-level toolkit without any hassle. You can try it out for free and without any prior expertise in this regard.

