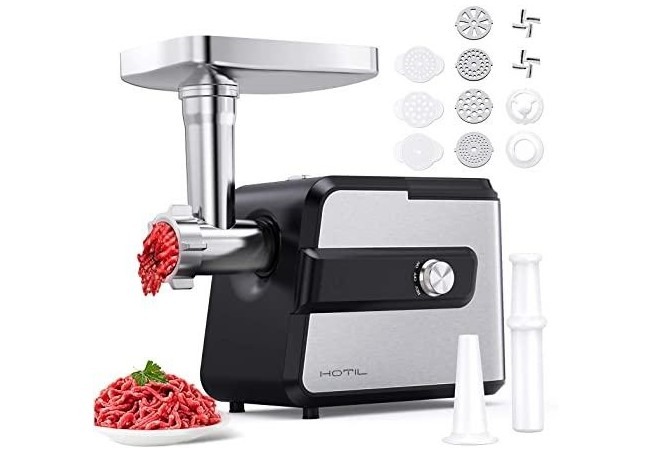
Electric meat grinders are one of the best appliances to have in your kitchen to significantly improve the quality of your meat.
Especially if you want to limit the amount of fat in meat, a grinder is the best tool you can use.
Most electric grinders have three plates. Each of these plates has a different hole size, which gives variety in the texture of your meat. The smaller holes will give a finer grind while the bigger holes will give a coarse grind.
Some brands have sausage funnels too. To enjoy sausages of different sizes, choose electric meat grinders that have two funnels at least.
But that’s not all.
The best thing about electric meat grinders is that they are able to process meat at a faster rate and no energy input is required on your part.
And if you go to a professional shop to get your meat done properly it can get very expensive.
This is why you will need a grinder as it is such a useful appliance.
But it can be a problem if you’ve never used it before, right? Also be sure to read this article.
After reading this article of BBQ Insider, you’ll know exactly how to properly use your electric meat grinder:
Step 1: Start Preparing Your Meat.
Don’t limit yourself to just normal beef. Now that you have a meat grinder. You can go with turkey, chicken, pork, and lamb as well.
Once you have picked the meat.
Wear a glove and wash it properly and remove any dirt you find.
Then pick a sharp knife and remove the bones and skins of the meat. Make sure that it’s small.
But don’t focus on making any fancy cuts. Even fatty cuts are fine. Since your grinder will do the rest of the job.
Now your meat can easily fit into the hole of the meat grinder properly.
Step 2: Put the Meat in the Grinder
Never grind the meat you just bought.
Or else it’ll clog your meat grinder and it’ll stop working.
Plus, it’s unhygienic.
So, after you have cut the meat and washed it properly.
Put it in the fridge (freezer).
Make sure that you put the meat grinder plate in the freezer as well.
This will give the best results.
Freeze the plates as well as the meat for 1 hour.
You don’t want the meat to freeze.
Just cold.
This process will ensure that your meat is ground properly without leaving a huge mess of the meat grinder.
Step 3: Assemble the Grinder
After 1 hour is done.
Take out the blade and plates and assemble them all together.
Make sure that you properly wash them and they’re neat and clean.
Step 4: Use a feeding bar to put the properly cut meat into the meat grinder.
Don’t use your hand for doing this. A feeding bar is best recommended.
And if you want more flavors in your meat, you can cut onion, garlic, peppers for a better taste.
Also, add some water with them.
So, they mix properly with the meat.
Step 5: Before you start grinding the meat make sure you place a big bowl underneath. So, when the meat is ground it properly comes out into the bowl without getting dirty.
Step 6: Keep a washed carrot or radish to push the meat further into the meat grinder.
You can also use a feeding tube that comes with the meat grinder.
But never ever use your bare hands to push the meat.
This can harm you or cut your hands.
Step 7: Once you’ve cut your desired amount of meat cut off the power cord.
Step 8: Quickly give the meat another wash. This step shouldn’t take more than 5-10 minutes, and it’s just for hygienic purposes.
Then put it back in the freezer.
Step 9: Wash the meat grinder properly with soap. Then leave it to dry naturally.
Step 10: Use a wet cloth to clean the outside body of the grinder.
Step 11: Every six months or so make sure you lubricate the oil seal of the meat grinder.
Summary
The most important things you can learn from this article are:
- Don’t focus on fancy cuts. Fat meat is fine.
- Freeze the meat for at least 1 hour.
- Never use bare hands to push down meat.

