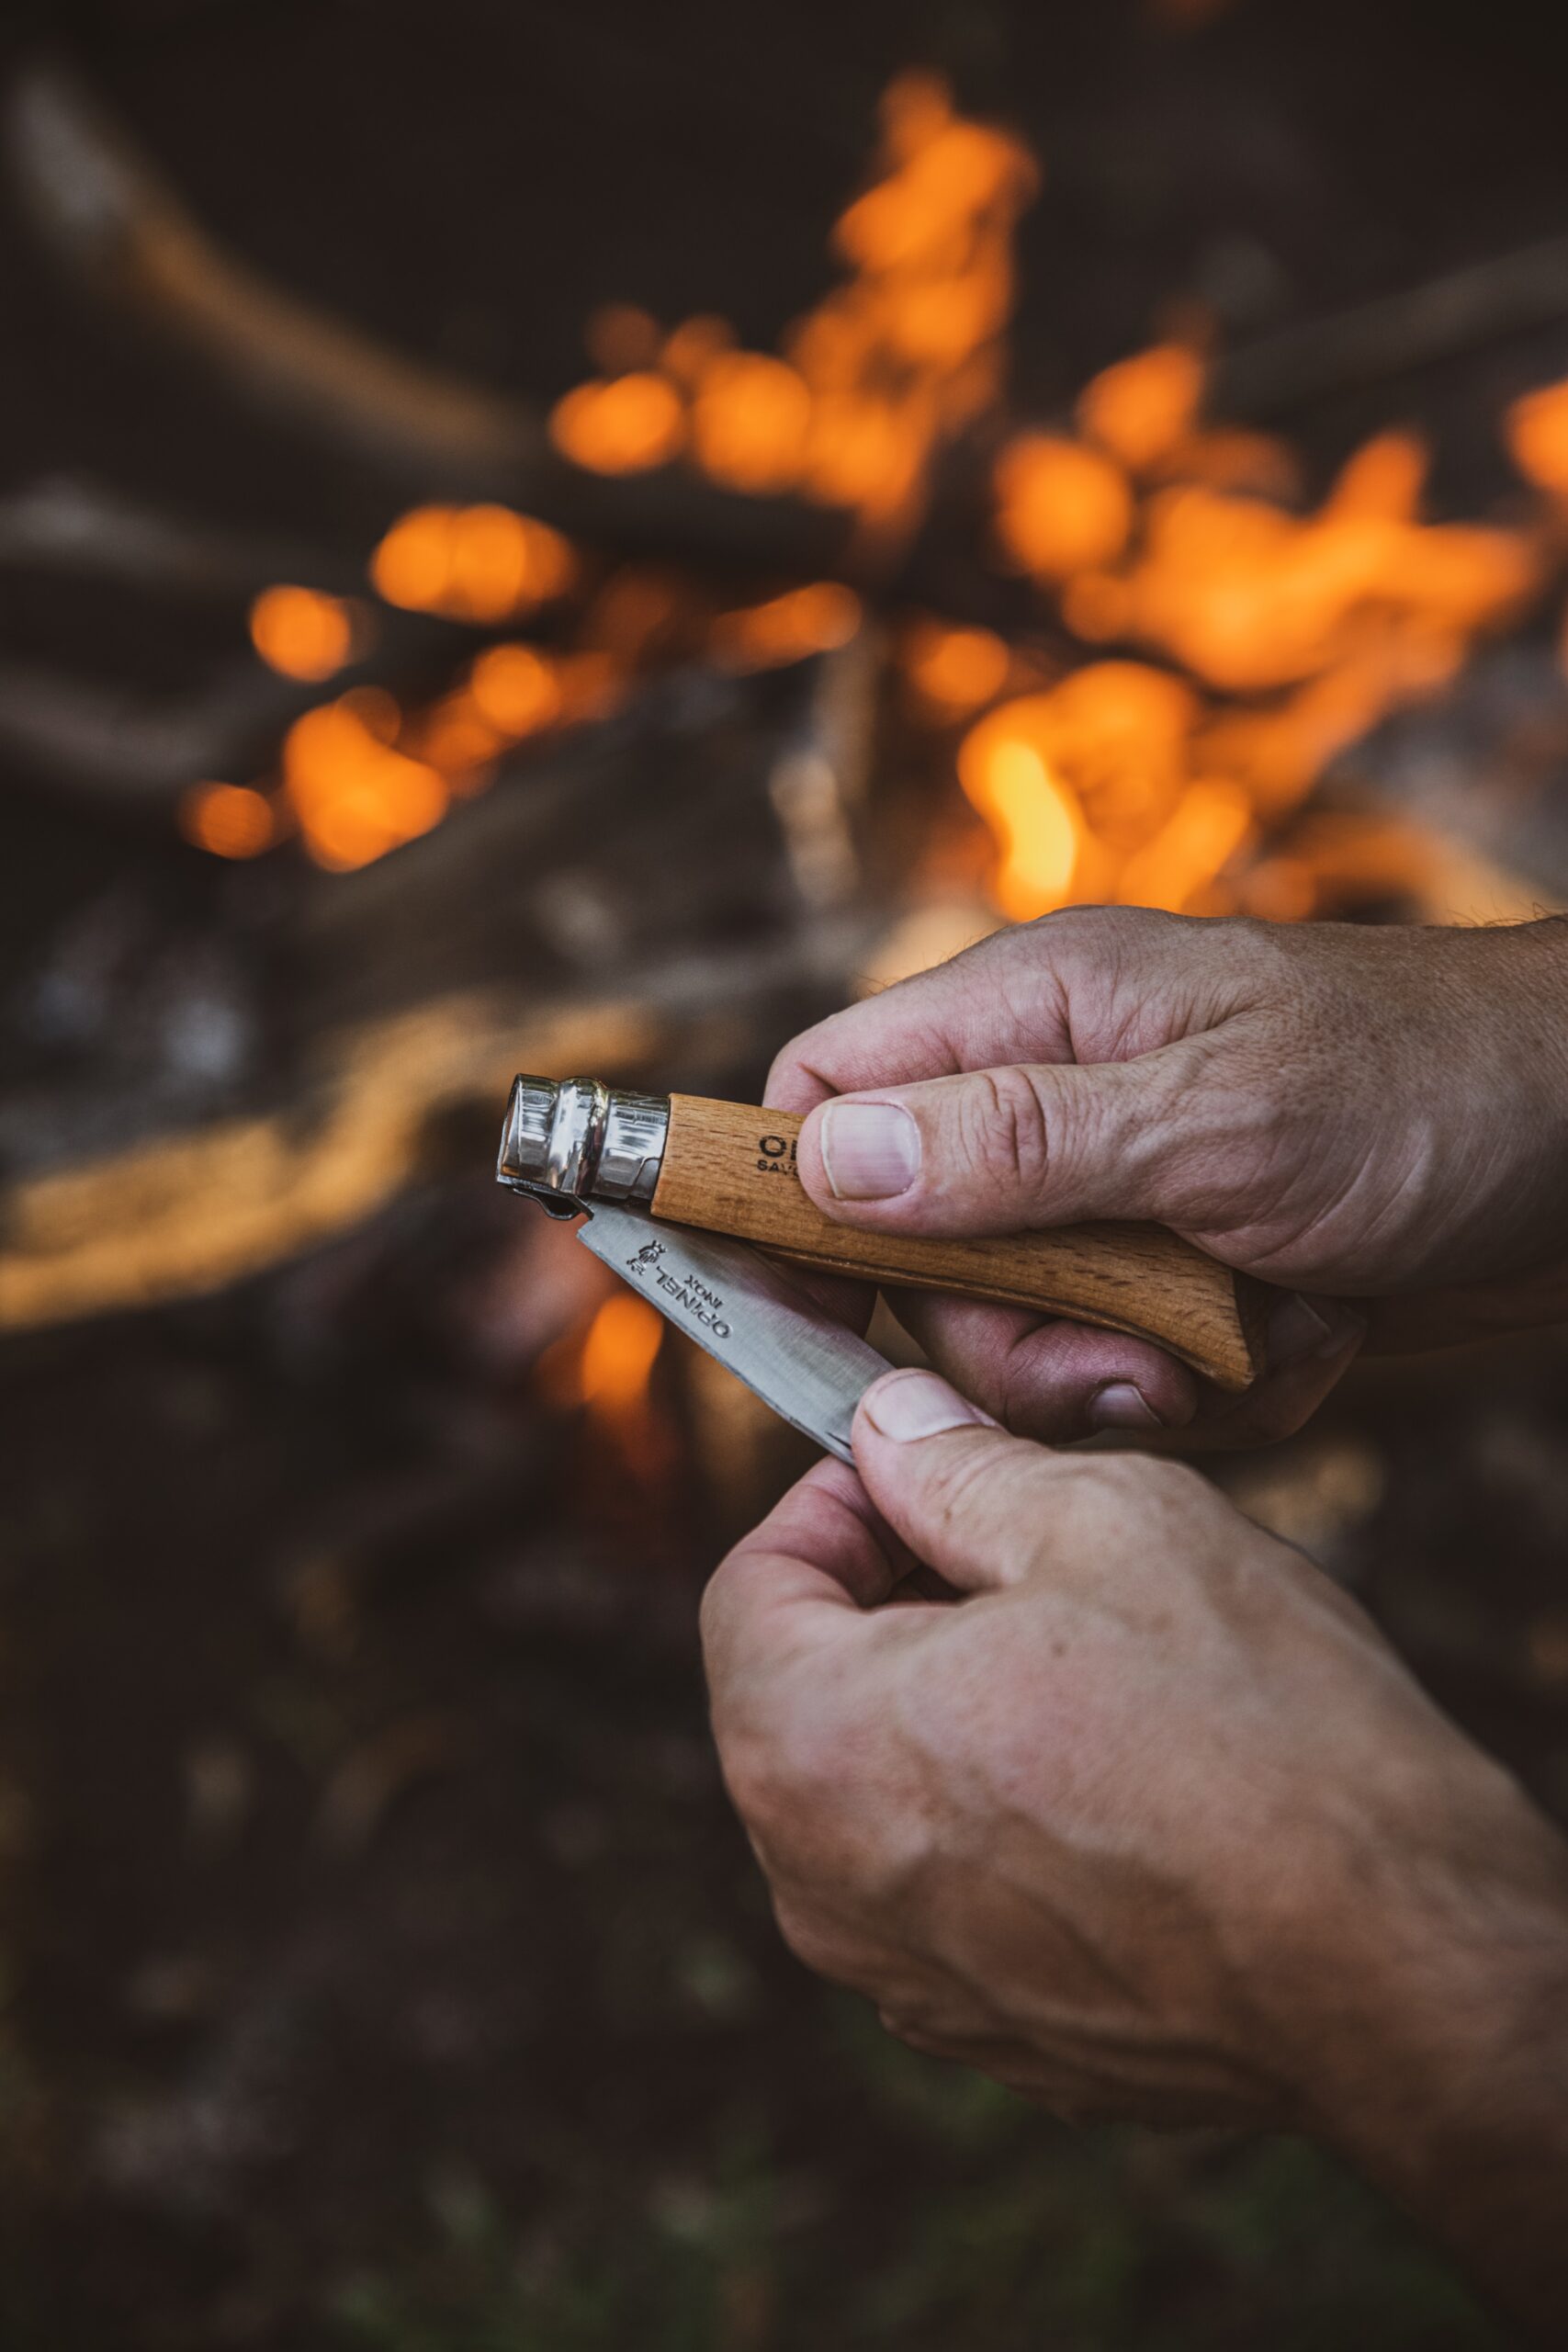
Pocket knives are more important lifestyle items than they are everyday tools, as any real lover will tell you. Because of this, they serve as essential extensions of your unique identity and have the same symbolic meaning as your watches, jewellery, or sneakers. This common accessory would have even more value and significance if you made it yourself.
Designing your own knife can be fun and rewarding, but it can also be challenging if you’re new to knife making. Here’s a quick guide to help you make your own knife.
- Choose your design: The first step in designing your own knife is to choose the type of knife you want to make. There are many different types of knives to choose from, including hunting, chef, and folding knives. Once you’ve chosen the type of knife you want to design, you’ll need to research different designs and decide on the features you want to include in your knife.
- Select your materials: The materials you choose for your knife will depend on your choice of knife and your personal preferences. The blade can be made from various materials, including high-carbon steel, stainless steel, Damascus steel, or even titanium. The handle can be made from materials like wood, bone, or synthetic materials like G10 or Micarta.
- Create a template: Once you’ve chosen your design and materials, you’ll need to create a template for your knife. You can draw the template by hand on paper or use a computer-aided design (CAD) program to create a digital template. Make sure to include all the dimensions and details you want in your final knife.
- Cut out your blank: The next step is to cut out your blade blank from the material you’ve chosen for your blade. You can use a jigsaw or bandsaw to cut out the basic shape of the blade. Once you’ve cut out the blank, you can use a grinder or file to refine the shape and bevels of the blade.
- Harden and temper the blade: After shaping the blade, you’ll need to heat treat it to harden and temper it. This process will make the blade stronger and more durable. You can either use a heat-treating oven or a forge to heat the blade to the desired temperature and then quench it in oil or water. After the blade is quenched, you’ll need to temper it to reduce its hardness and increase its toughness of the blade.
- Create the handle: While the blade is cooling, you can begin working on the handle. Cut out the handle scales from your chosen material and shape them to fit your hand comfortably. Drill holes in the handle scales for the pins or bolts that will hold the handle to the blade.
- Attach the handle: Once you’ve finished shaping the handle, you can attach it to the blade. Place the blade between the handle scales and use pins or bolts to secure the handle in place. Make sure the handle is centered and flush with the blade.
- Finish the knife: After attaching the handle, you’ll need to finish the knife. This can include polishing the blade, sanding and shaping the handle, and adding any decorative elements you want. You can also sharpen the blade to ensure it’s ready for use.
- Test the knife: Once you’ve finished your knife, it’s important to ensure it’s functional and safe to use. You can do this by cutting different materials or using the knife in a controlled environment to ensure its sturdy and comfortable to use.
