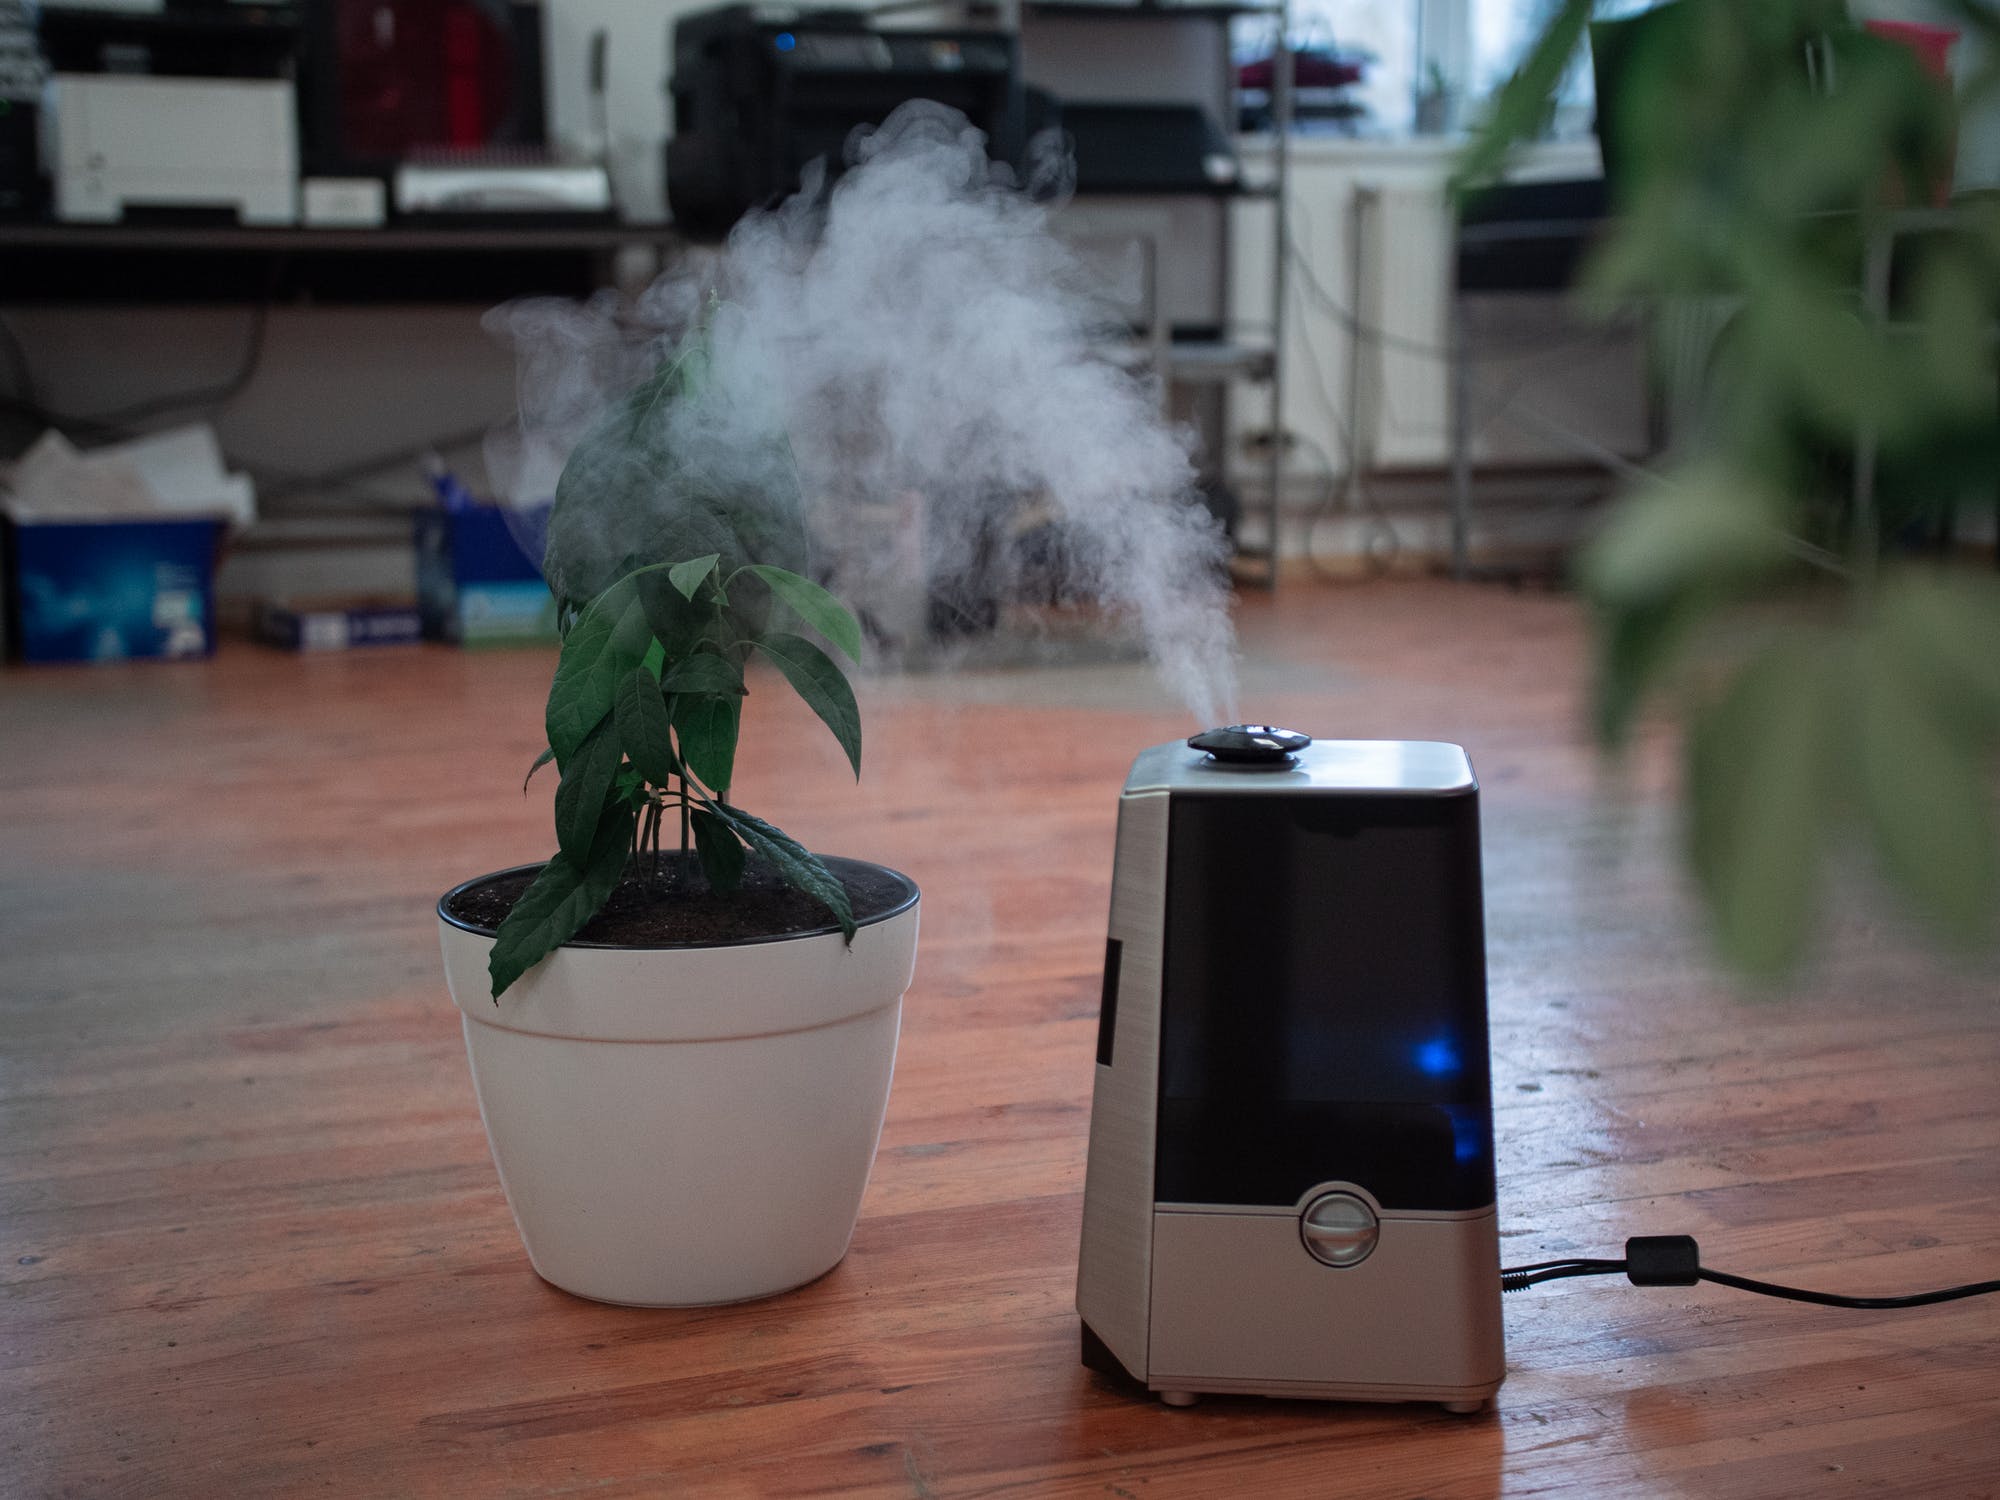
Humidifiers are a must-have in every home. It allows a moist and cleaner air to flow inside your home. Dry air brought about by hot weather or indoor heating systems can dry out your nose, lips, skin, and even your eyes. It can even worsen respiratory problems and allergies.
But, with a humidifier in place, it will definitely soothe a sore throat, provide relief from cough and colds, and alleviate allergic symptoms. However, you must take note that at a certain humidity level, unwanted bacteria and fungi can thrive in such a moist environment, making your humidifier a possible source of infection.
This can be avoided by making sure to clean your humidifier. Fortunately, there is a smart, yet easiest way to do this. Here’s a quick guide on how to clean your humidifier:
Three Things You will Need
Before learning the steps, you must first prepare the most important tools. Guess what, you won’t need detergents or harsh cleaning brushes that can cause direct damage to your favorite tool. What you need are actually very easy to find:
Distilled Vinegar
There are different varieties of white vinegar available in any grocery store. But, if available, you can choose distilled white vinegar for cleaning. This type has about 5% to 8% acetic acid.
Liquid Bleach
Liquid bleach contains sodium hypochlorite, which is the active ingredient that will kill the microorganisms in the humidifier. This chlorine based bleaching agent will help disinfect and keep the humidifier clean.
Tooth Brush
Tooth brushes have softer bristles compared to household cleaning brushes. They are much easier to work with and won’t cause your humidifier any scratches.
Easy Breezy Steps
Most humidifiers are easy to clean. Once you have all the necessary tools and agents ready, the rest of the cleaning will be easy. The cleaning process has only three parts.
- Unplug the humidifier. Pour out contents and disassemble. You can have a quick review of the user manual to learn how to disassemble your humidifier.
- Pour about two cups of the distilled vinegar into the thank. Begin cleaning by swishing the vinegar around the tank, making sure that all of the inside surface of the tank is in contact with the vinegar. Let the vinegar sit in the tank for about 15 minutes. Empty the tank thereafter.
- With a toothbrush, gently scrub the corners and crevices. You can scrub harder in areas that already have mineral deposits. As for the smaller parts of the humidifier, you can just use a cloth soaked in vinegar.
- Rinse the parts thoroughly with water and leave to dry.
Deep Clean with Chlorine
Although the distilled vinegar can be readily used to clean your humidifier as often as you must, you’ll have to do a deep cleaning every once in a while. You can further disinfect using a liquid bleaching agent that contains chlorine. Here’s how to use liquid bleach in cleaning your humidifier
- Check the label of the bleaching agent for instructions on how to dilute the concentrate with water. Usually, one gallon of water is enough to dilute one teaspoon of liquid bleach.
- Similar to distilled vinegar, swish about half of the bleaching solution inside the water tank, making sure all of the surface are in contact with it. Let it rest for 15-20 minutes, and then, rinse with clean water after emptying.
- You can wipe the humidifier dry using a clean cloth.
Conclusion
Cleaning your humidifier only takes three tools and very few easy steps to do a quick clean and a deep clean. Now, you will be more confident in making sure that your humidifier releases moist but safe, and microbe-free air!

