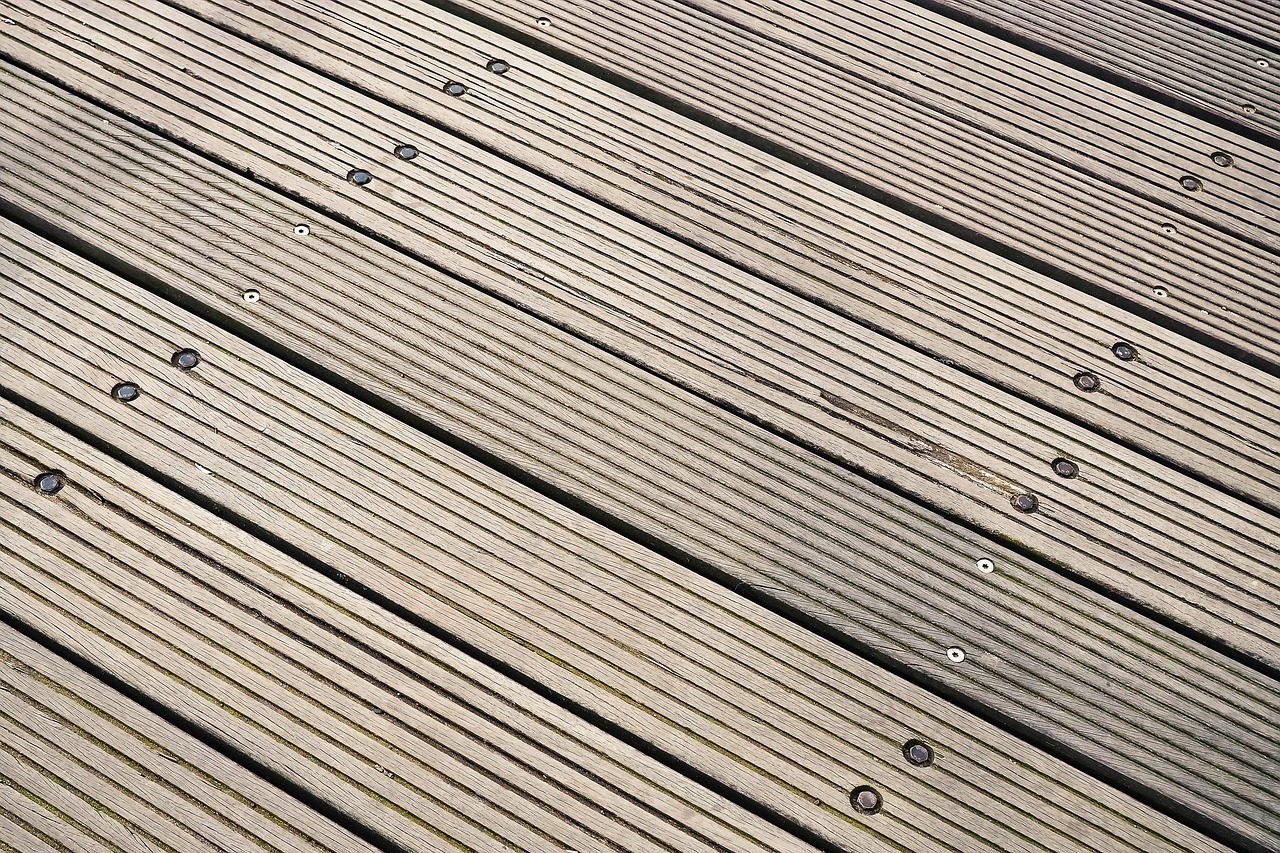
If you have a lot of kids running around the house, or just high-traffic up and down your stairs, then you might want to consider installing laminate flooring on those stairs. Laminate flooring is very durable and is able to mimic other floor styles while offering a variety of styles on its own. And, the great part is that you can install it yourself with the right tools of course and proper instruction. Here are a few tips on how to install laminate floors on stairs. And get the best Laminate Flooring Underlay here.
PREPARATION
CHOOSING YOUR FLOORING
The first thing you should do before getting out that toolbox and making a mess is choosing your flooring. What style will best suit you? Your decision should not only be based on looks, but also the practicality of the style.
Do you have small children? Make sure the style you choose is textured so that there is little or no risk of slipping. What are the rest of your floors like? Is it dark wood? Will it match the general theme of your house? Next, go to the hardware store and choose one based on what your needs. It is recommended that you get a little more flooring than you actually need, about 10%, in case you need to cut some of the boards to fill in extra spaces or to fix potential errors.
While at the hardware store, purchase some matching nose stripping.
LETTING YOUR LAMINATE ACCLIMATE
When you get home, take your laminates outside of their box or package and lay them in a lattice shape, this allows air to flow through them and will allow them to adjust to the temperature and humidity in your house before they are laid. It is recommended that you do this at least three days before laying them in order to prevent them from warping, expanding and contracting in the future.
REMOVING CARPETS, PAINTS, ADHESIVES, TACK STRIP AND OTHER FLOORING FROM STAIRS
During the acclimation period, you should take this time to remove any adhesives or paint or another flooring. Carpets and tack strip can be removed using pliers, a prybar or a scraper. The aim of this is to provide a level surface to lay the laminate on your stairs. Using a belt sander or some sandpaper can help to level the surface and remove debris, bulges and high spots.
REMOVE OVERHANG
If you don’t know what an overhang is, it is the part of the stairs that protrudes or hangs over the riser. This is a safety measure, as it makes the steps more visible and gives persons a bit more foot space. Your job is to remove them. This makes installing the laminate much easier. To remove the overhang, use a jigsaw or reciprocating saw. Click the link to find the best reciprocating saw alternative.
If you don’t have the tools to remove the overhang, or do not wish to, simply use a piece of plywood to pad the riser to fill out the space created by the overhang.
MEASURING YOUR STAIRS AND CUTTING THE LAMINATE
After your laminate has acclimated, it is time to measure and cut the laminate. The three types of pieces you will need to measure and cut are the tread pieces (the part that is walked on), the riser pieces (vertical front-facing part) and the stair nosing (overhang).
For the tread pieces: You must try to get a close fit. While it is unlikely that you will get laminate to fit from left to right snugly, you can cut two planks of the same measurement to fit the tread space. You may also use one full piece and a small piece to cover the area, as long as the entire area is covered. But be sure to leave enough space at the edges to accommodate the riser and top nosing. Glue your pieces of laminate together.
For the riser pieces: Ensure that the pieces you cut sit snugly atop the tread piece. If not, trim it to fit.
For the stair nosing: Measure the tread and riser pieces and fit the nosing pieces accordingly.
A tip that will help you when measuring and cutting laminate is labeling them. This will help you to remember which pieces belong with each step and each other.
INSTALLATION
LAYING THE TREAD
The first tip for laying the tread pieces is “start at the top of the stairs”. This will prevent you from stepping on freshly laid laminate and you won’t get stuck upstairs after the job is done. Next, use three beads of high-quality wood glue to the place where the laminate is going to be placed (avoid the edges where the nosing belongs), and place the laminate in its position with the tongue edges facing you.
PLACING THE RISER
After placing the tread, follow the same steps to place the laminate in its vertical position. For additional hold, nail the top of the plank in place using any one of these fine framing cordless nailers. But don’t worry, this nail will be covered by the nose strip.
THE FINAL TOUCHES
FILLING SCREW HOLES
After all the treads, risers and nose strippings are in place, examine your stairs for screw holes. Use putty to fill in all extra spaces. After about 20 minutes, use a damp washcloth to even out the surface of the putty before it fully dries.
CLEANING THE LAMINATE
After evening out the putty, it is important to clean the laminate to remove any excess putty, sawdust, and dirt. Once putty sets, it is not easy to remove so make sure you get rid of it in all the places it shouldn’t be.
ALLOWING YOUR LAMINATE TO SET AND SETTLE
It is important to give your laminate time to set and to settle, ensuring the glue dries and nothing shifts out of place. At least 12 hours is recommended.
Installing laminate flooring on your stairs isn’t difficult. All you have to do is follow these tips and see how easy it really is for yourself.


