Nail art is a fun way to show off your style and creativity right at your fingertips! Whether you like bright colors, cool designs, or something sparkly, doing your nails can be a fun hobby. But, to get started with making cool nail designs at home, you need to know a few things first. This includes having the right tools and a bit of know-how.
In this article, we’ll go over everything you need to start creating your own nail art at home. From the basics of taking care of your nails to using fancy tools for eye-catching designs, we’ll cover it all. So, grab your favorite nail polish, and let’s dive in!
Nail Basics
Before you start diving into the world of nail art, getting the basics right is crucial. This part is all about gathering the essential tools and setting up a good space where you can be creative with your nails. Let’s break it down:
Essential Tools and Supplies
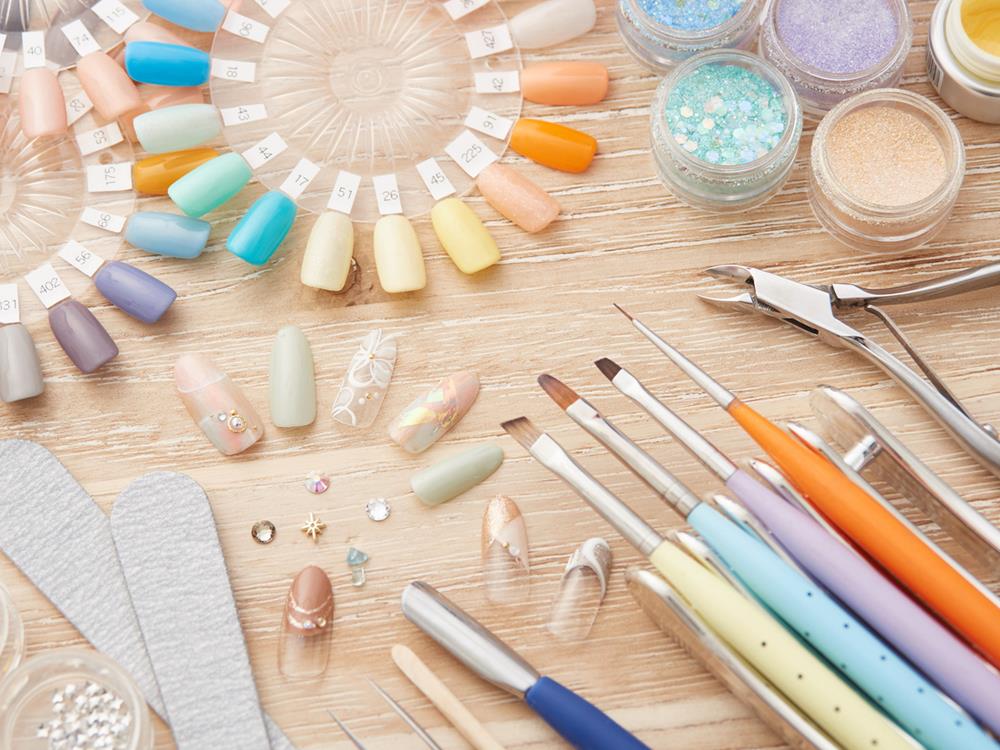
To begin, you’ll need a few key items in your nail art toolkit. Here’s a quick list:
- Nail polish: A variety of colors to choose from is great, but make sure you have the basics like black, white, and a few of your favorite colors.
- Base coat and top coat: These are super important for keeping your nail art looking good for longer. The base coat protects your nails, and the top coat seals in your design.
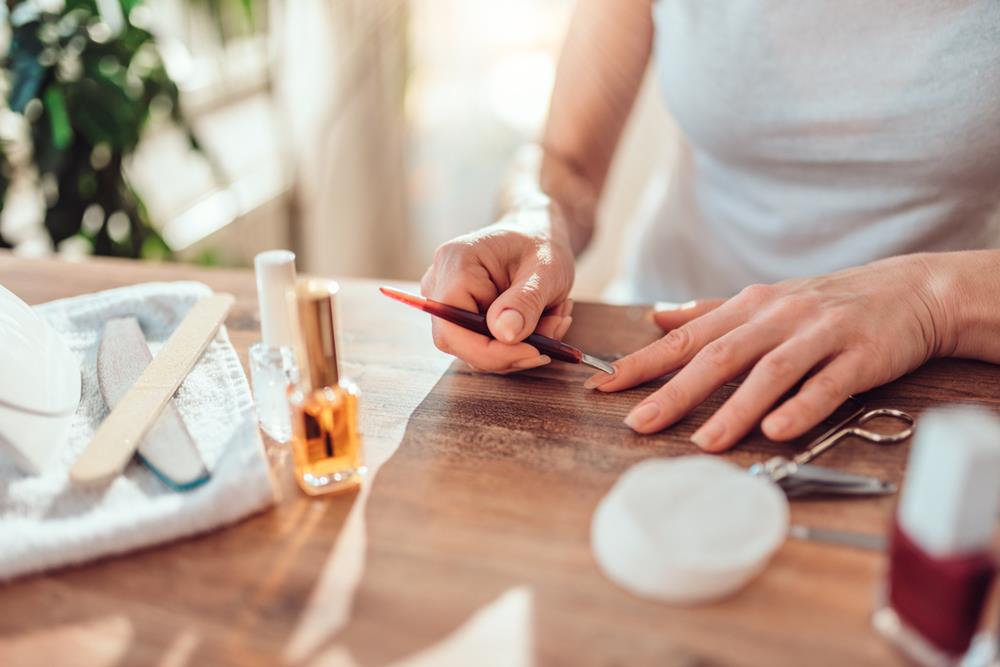
- Nail polish remover and cotton pads: Mistakes happen! Having a good remover and soft pads makes fixing those mistakes easy.
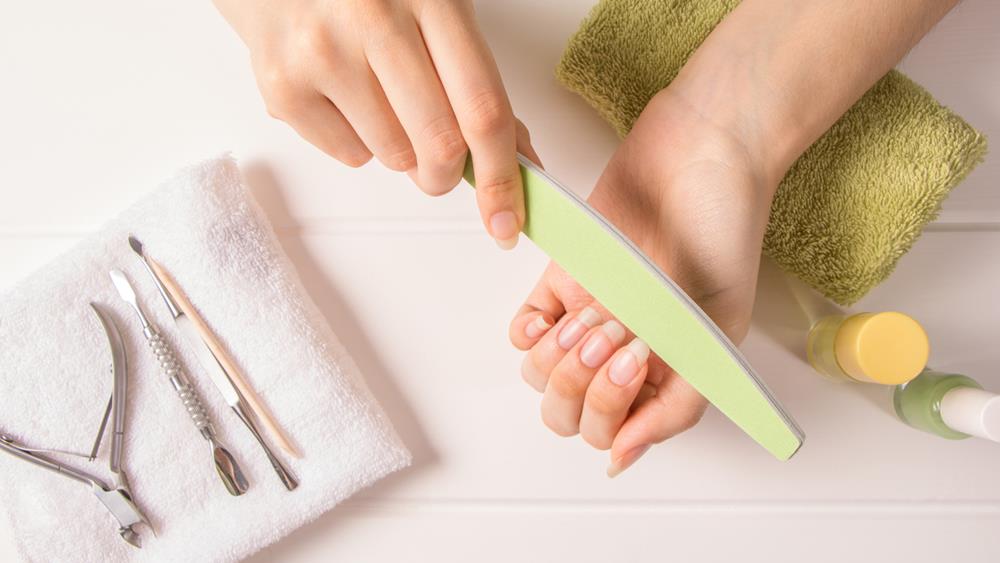
- Nail clippers, files, and buffers: Keeping your nails the shape and smoothness you want is key to a beautiful outcome.
Setting Up Your Workspace
Having a designated spot for doing your nails can make the whole process smoother. Here are a few tips:
- Find a clean, well-lit area: Good lighting is essential so you can see all the details of what you’re doing. A clean space helps keep things organized and hygienic.
- Keep your tools organized: Whether it’s a box, a drawer, or a set of containers, knowing where everything is will save you time and keep you focused on being creative.
Getting comfortable with these nail basics sets a strong foundation for moving into more intricate nail art. Remember, the goal is to have fun and let your creativity shine through your nails.
Nail Care
Before you dive into the vibrant world of nail art, it’s essential to ensure your nails are healthy and well-prepped. Think of your nails as a canvas for your art; the better the condition, the better the artwork will turn out. Here’s how to keep your nails in top shape:
Prepping Your Nails
Proper preparation is the key to flawless nail art. Follow these steps for a basic manicure that will ensure your nails are ready for decoration:
- Cleaning: Start with clean, dry nails. Remove any old polish thoroughly with nail polish remover.
- Shaping: Use nail clippers and a file to shape your nails to your desired length and shape. Popular shapes include round, square, or almond.
- Buffing: Gently buff the surface of your nails to smooth out any ridges. This makes the polish apply more evenly.
Nourishing Your Nails
Healthy nails are the foundation of great nail art. Here are a few tips for keeping your nails strong and hydrated:
- Cuticle Care: Apply cuticle oil regularly to nourish and moisturize your nails and cuticles. Healthy cuticles help protect your nails from infections and damage.
- Moisturize: Hands and nails can become dry from frequent washing and exposure to nail polish remover. Use a good hand cream to keep your skin and nails hydrated.
- Regular Maintenance: Incorporate these nail care steps into your routine to ensure your nails are always in the best condition for art.
Gel Polish
Gel polish is a game-changer for nail art enthusiasts looking for longer-lasting designs. Unlike regular nail polish, gel polish is known for its durability and glossy finish, making it a popular choice for at-home manicures. Let’s explore what makes gel polish stand out and how you can use it for your nail art projects.
Introduction to Gel Polish
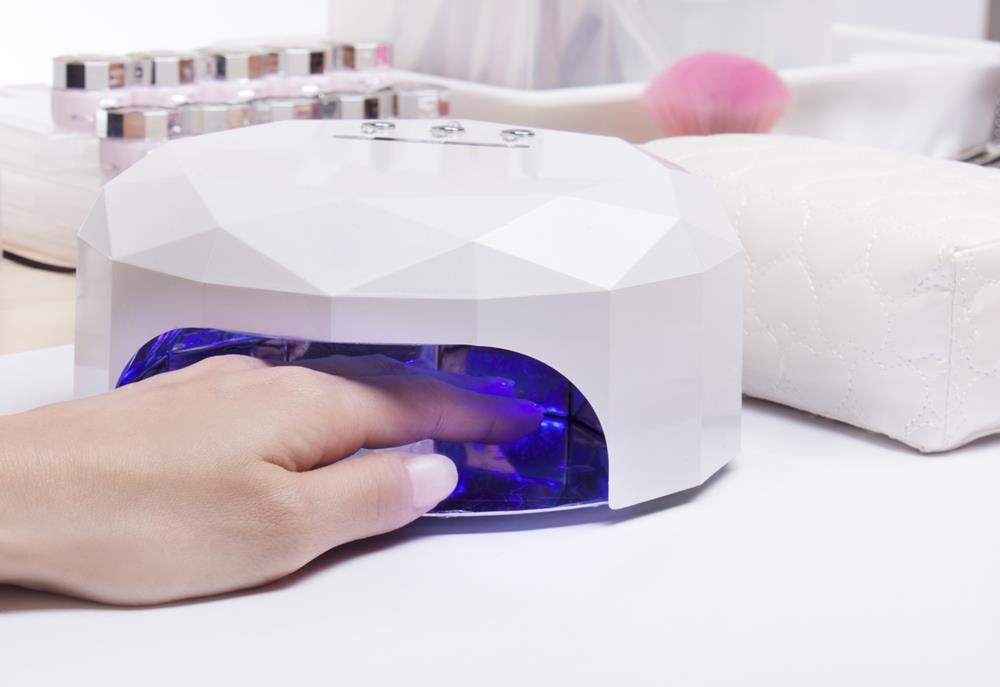
Gel polish is a special type of nail polish that cures under a UV or LED lamp, resulting in a harder, more durable finish. Here are a few reasons why gel polish might be your go-to for nail art:
- Durability: Gel polish can last up to two weeks without chipping, making it ideal for intricate designs you want to enjoy longer.
- Glossy Finish: The shiny, glossy finish of gel polish gives your nail art a professional look.
- No Dry Time: Once cured under the lamp, gel polish is completely dry, which means no smudging or waiting around.
Required Tools for Gel Polish
To get started with gel polish at home, you’ll need a few specific tools:
- UV or LED Lamp: Essential for curing the gel polish. LED lamps cure polish faster, but UV lamps are more universally compatible.
- Gel Polish (Base Coat, Colors, and Top Coat): Gel polish comes in base, color, and top coat formulas. You’ll need all three for a complete gel manicure.
- Nail Cleanser and Lint-Free Wipes: To prep your nails and clean them after curing.
Application Tips
Applying gel polish requires a bit more precision than regular polish. Here’s a basic guide:
- Prep Your Nails: Follow the nail care steps to clean, shape, and buff your nails. Use a nail cleanser to remove any oils or residue.
- Base Coat: Apply a thin layer of gel base coat and cure under the lamp as directed (usually around 30 seconds to a minute, depending on your lamp).
- Color Coats: Apply your gel color in thin, even layers. Cure each layer under the lamp before applying the next. Two coats usually give a solid color.
- Top Coat: Finish with a gel top coat and cure for a glossy finish. This seals in your color and design.
- Clean Up: After curing the top coat, wipe your nails with a nail cleanser to remove any sticky residue.
Using gel polish for your nail art not only enhances the durability of your designs but also opens up a world of possibilities in terms of creativity. Whether you’re experimenting with colors, textures, or intricate patterns, gel polish can help your nail art look better and last longer.
Nail Stamps
Nail stamps are a fantastic tool for adding intricate designs to your manicure without needing a steady hand for freehand drawing. They are perfect for beginners and seasoned nail artists alike, offering a quick and easy way to achieve professional-looking nail art at home. Let’s dive into how nail stamps work and how you can use them to elevate your nail art.
Getting Started with Nail Stamps
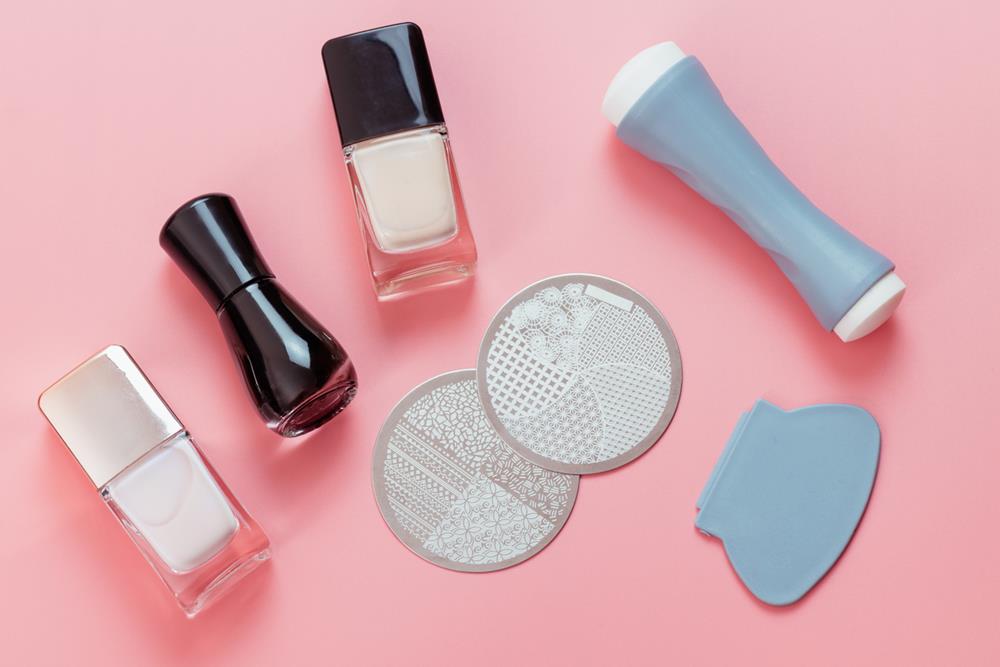
Nail stamps involve transferring designs from an etched plate onto your nails using a stamper. The process is straightforward, but the results can be stunning. Here’s what you need to know to get started:
- Types of Stamping Kits: Stamping kits typically include one or more metal plates with etched designs, a stamper, and a scraper. There are countless designs available, from floral patterns to geometric shapes.
- Choosing Your Polish: While there are special stamping polishes available that are thicker and more pigmented, many regular polishes can also work well, especially if they are opaque in one coat.
Using Nail Stamps
Creating beautiful designs with nail stamps is easier than you might think. Follow these steps for a successful stamping experience:
- Apply Your Base: Prepare your nails with a base coat and a color coat if desired. Make sure it’s completely dry before stamping.
- Apply Polish to the Plate: Choose the design on your stamping plate and cover it with a layer of polish.
- Scrape Off Excess Polish: Use the scraper to remove excess polish from the plate, leaving polish only in the design.
- Press the Stamper: Firmly press the stamper onto the plate to pick up the design.
- Stamp Your Nail: Roll the stamper across your nail to transfer the design. Do it with confidence and a bit of speed for the best transfer.
- Apply Top Coat: Once the design is dry, seal it with a top coat to protect your nail art.
Tips for Success
- Practice Makes Perfect: It may take a few tries to get the hang of stamping, especially when learning how much pressure to apply. Don’t be discouraged by initial mistakes.
- Clean Your Tools: After each use, clean your plate, scraper, and stamper with nail polish remover to ensure crisp designs every time.
- Experiment: Try different polish and stamper combinations to see what works best for you. Some polishes may work better with specific stampers or designs.
Nail stamps can drastically reduce the time and effort required to achieve complex nail art designs. With a bit of practice, you can create looks that are sure to impress, from elegant to edgy.
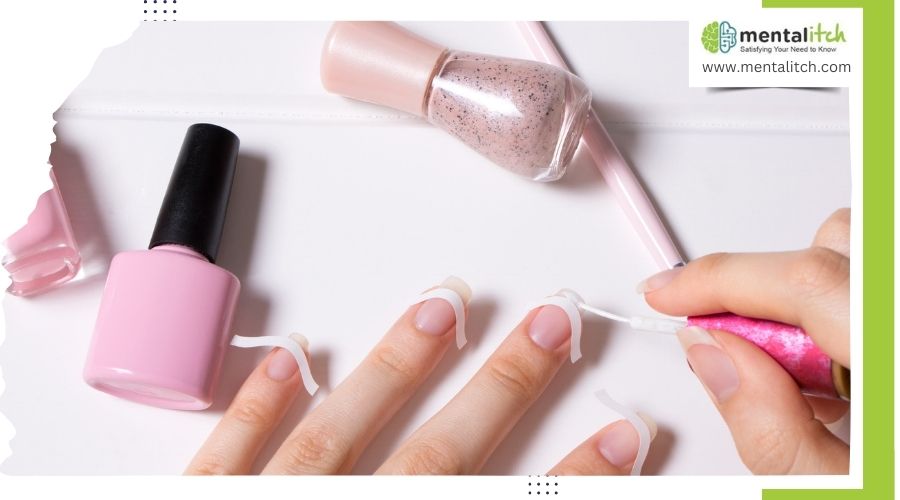
Upgrading Nail Art
Once you’ve mastered the basics of nail art, including applying gel polish and using nail stamps, you might feel ready to take your designs to the next level. Upgrading your nail art means exploring more advanced techniques and tools to create even more intricate and personalized designs. Let’s explore how you can elevate your nail art game.
Advanced Tools and Techniques
To create more detailed and complex designs, consider incorporating the following tools and techniques into your nail art repertoire:
- Dotting Tools: These tools allow for precise dots and patterns, perfect for adding detailed accents to your designs.
- Striping Tape: Use this thin adhesive tape to create clean lines and geometric patterns. It can also be left on the nail as part of the design.
- Nail Art Brushes: Invest in a set of nail art brushes of various sizes to paint detailed designs and intricate motifs directly onto your nails.
- Sponging: A technique using a small piece of sponge to create gradient or ombre effects, adding depth and texture to your nail art.
- Marbling: Achieve a marbled effect by swirling together different colors of polish on the nail, using a tool or even a toothpick.
Finding Inspiration and Tutorials
Inspiration for your nail art can come from anywhere—fashion, nature, art, or even a pattern you saw on a piece of fabric. Here are some ways to find inspiration and improve your skills:
- Social Media and Nail Art Blogs: Platforms like Instagram, Pinterest, and YouTube are gold mines for nail art inspiration and tutorials. Follow popular nail artists and hashtags related to nail art.
- Practice, Practice, Practice: Like any form of art, practice is key to improving. Try recreating designs you love, and don’t be afraid to experiment with your own ideas.
- Online Communities: Join nail art forums or communities on social media where you can share your designs, get feedback, and exchange tips with fellow nail art enthusiasts.
Experimenting with New Ideas
The beauty of nail art is that there are no rules. Here are a few ideas to spark your creativity:
- Mix and Match Techniques: Combine different techniques in one design. For example, use stamps for the base pattern and then add details with a dotting tool or brush.
- Play with Textures: Beyond glossy and matte finishes, explore textured polishes or add embellishments like rhinestones, glitter, or metallic strips for a 3D effect.
- Seasonal and Thematic Designs: Let the season, holidays, or special occasions inspire your nail art. This can be a fun way to experiment with themes and colors.
Upgrading your nail art involves exploring new tools, techniques, and sources of inspiration. By experimenting and practicing, you’ll develop your unique style and take your nail art creations to impressive new heights. Whether you’re aiming for elegance, whimsy, or edginess, the possibilities are endless.
Conclusion
Starting nail art at home opens up a world of creativity and self-expression right at your fingertips. Whether you’re applying your first coat of gel polish, experimenting with nail stamps, or exploring advanced nail art techniques, each step is an opportunity to bring your unique visions to life. Remember, the key to great nail art isn’t just in the tools and techniques but in the care and creativity you bring to each design. So, gather your supplies, let inspiration strike, and have fun transforming your nails into your very own miniature canvases.
Additional Tips:
- Having a full set of manicure tools is important. This includes nail clippers, cuticle clippers, and a nail file, at least. You can also treat yourself to a nail buffer that will work to remove the imperfections on the surface of your nail, so you get glossier results every time.
- The type of nail polish you use will also matter. There are basic options all the way to more luxurious options. If you want a glossy look, for example, then forget the basic lineup of products and instead get a gel nail polish kit for stunning, long-lasting results.
- You’ll also want to consider getting gems, rhinestones, glitter, and the like. There’s a brush-on metallic polish, for example, that lets you get the now-trending chrome look in a very satisfying step.

