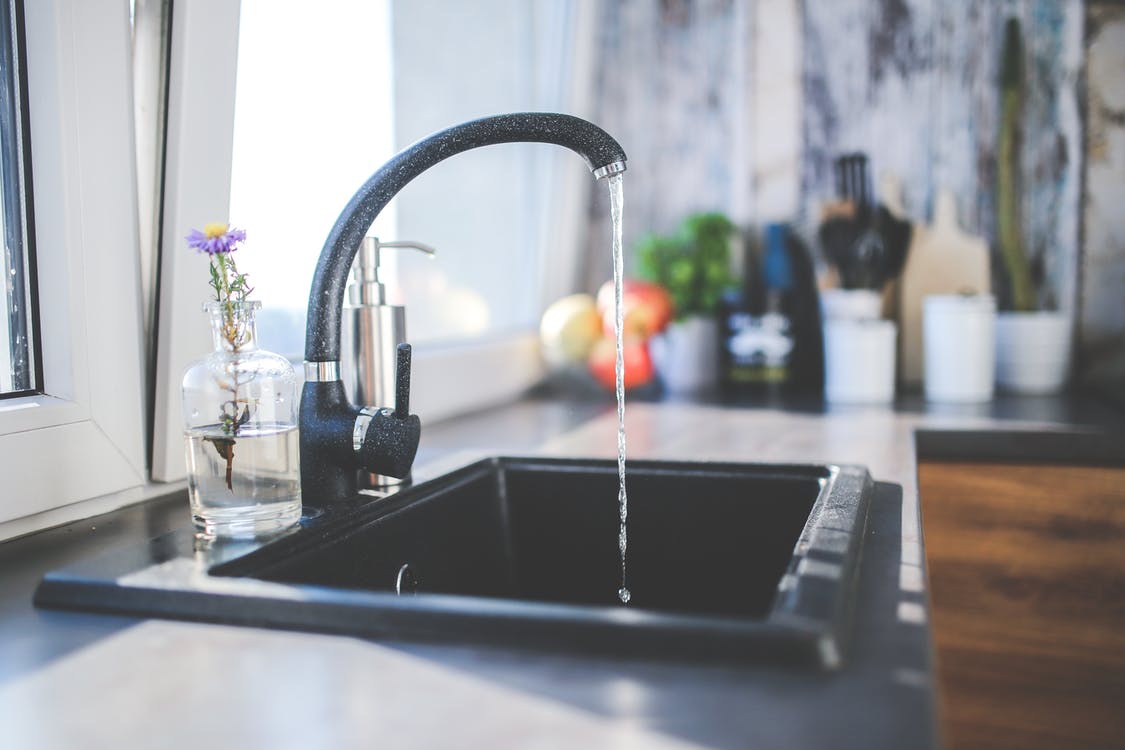
Your kitchen faucet was working fine before, so now why is it leaking when you shut it off? Before you can fix a dripping faucet, you need to figure out what the problem is. There are several reasons your faucet may be leaking. The first things you should check for are:
- Corrosion in the valve seat
- Loose parts
- Wear and tear
- Improper installation
- Broken parts
- Detached parts
You’ll have to take your faucet apart to determine the specific cause. Here’s a step-by-step guide for beginners. If you don’t know the first thing about plumbing technology, this is for you.
1. Turn the Water Supply Off
Underneath your sink you’ll find hot and cold water taps on the pipes that connect the water supply to the faucet. You’ll need to turn these off before you can get started. If you forget this step, you are going to have a huge mess on your hands.
2. Plug the Sink
You’ll need to plug the drain in your sink so you don’t lose any screws or other parts during this process. If your sink has two drains, be sure to plug them both. The last thing you want to do is lose any parts, especially if they end up in your garbage disposal.
3. Remove the Protective Caps
Kitchen faucets have protective caps that cover the screws that were used to install them. These usually have an “H” or a “C” on them, but some are just red and blue. You’ll need to remove the screws if you want to take the faucet off, but first you’ll need to remove the caps with a flathead screwdriver to get to them.
If your faucet doesn’t have separate handles for hot and cold, there may not be a protective cap over the single screw that holds it in place.
4. Remove the Handles
Now that the protective caps are off, you’ll be able to see the screws. Once these are removed, you can take the handles off. You can do this using a Phillips head screwdriver.
5. Remove the Stem
In order to remove the stem, you’ll need to unscrew the nut that holds it into place. Use a wrench to remove the nut, and then you can remove the stem.
6. Check the Seat Washer and O-Ring
You’ll find a seat washer and o-ring beneath the stem. Unscrew the seat washer and then examine both parts for any damage or signs of wear. In most cases, the o-ring is the cause of the leak if your faucet is dripping from the spout. If it’s dripping from the base, the seat washer is the most likely culprit.
As long as you’ve taken the faucet apart anyway, replace both parts. Don’t forget to take them with you to the hardware store so you can be sure you’re buying the right replacement parts, and don’t be afraid to ask a member of the staff for help.
7. Put the Faucet Back Together
Lubricate the seat washer and o-ring with plumbers grease and then install them. After that, reverse the above steps to reassemble the faucet. Turn the water back on and check to see if it’s still leaking. If it is, you may need to consult a plumber to learn more about how to repair a leaking faucet.
Even if it’s just a small leak, it’s important to fix it now, before the problem becomes more expensive. What starts off as an annoying dripping sound can quickly become higher water bills, mold, mildew, and poor air quality in your home. A leaky faucet can also cause corrosion, so you’ll need to replace your faucet rather than performing a simple repair.

