Bicycles and their parts can be expensive, especially if you added special parts to improve your biking experience. For this reason, you have to make sure that your bicycle and additional equipment are packed properly in order to keep them safe, especially as they are being transported from your old home to your new residence. It is highly recommended that you leave this type of move to professionals, but if you are opting for a DIY move, you need to strictly follow packing instructions to make your bicycle and equipment less susceptible to damage.
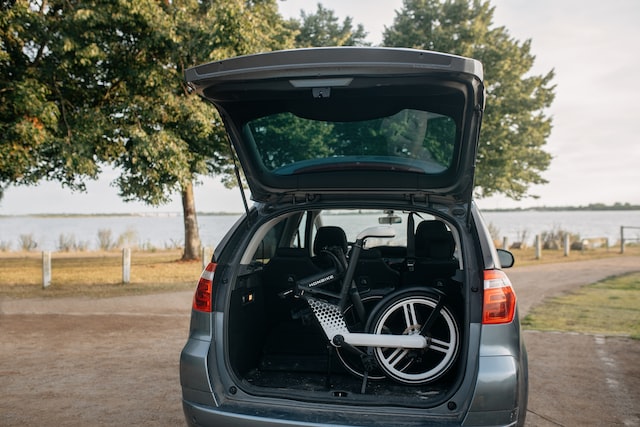
If you’re moving to a nearby city on your vehicle, it will be possible to take your bicycle with you by placing it on a rack and driving to your new location. However, if you’re moving to a new state or overseas and you wish to take your bicycle with you, you will need to pack it in a box to make it easier to transport.
If you are hiring professional removalist, like Whybirds, to help you with your move, you can leave the task of disassembling the bicycle to them. However, if you’re moving on your own, you have to disassemble the bicycle or ask someone who knows how to do so.
- You will need
- sturdy bicycle box
- scissors or carpet
- zip or cable ties
- bubble wrap or foam padding
- permanent marker
- disassembly tools
1. Prepare materials and keep them close
In order to pack your bicycle more efficiently, prepare all the materials and tools you will need before you start disassembling the bicycle. Not only will it make it easier to grab whatever you need, but it will also lessen the possibility of losing screws, nuts, and other small parts while you try to find the tools you need.
2. Clean the bicycle
Before packing your bicycle for the move, it’s best to clean all of its parts before or as you disassemble the bicycle. Whether you’re moving interstate or you’re putting your bicycle and other belongings and storage, keeping all the parts clean and dry will help keep the bicycle in good condition for a long time. It also helps keep the bicycle free from rust, moulds, and other damages caused by dirt and moisture.
3. Disassemble the parts of your
Removing the bicycle’s parts and accessories will make it easier to fit it into the box. Some of the parts will come off by hand, but some parts will require you to use disassembly tools to take them apart. Before removing the adjustable parts such as the seat and handlebars, mark their levels with a marker or masking tape. Once you’ve placed your markers, you may start detaching the following:
- seat and seat post
- pedals
- handlebars
- wheels (front only, or both depending on the size of the box)
- derailleur
- accessories
If you are removing parts fastened by screws, nuts, or bolts, make sure that you place them back after removing the parts. This way, you can avoid losing these tiny parts as you continue to pack and prepare.
4. Secure the delicate parts of the bicycle
Some parts of your bicycle’s frame are more prone to damage than others. Use a fork guard, woodblock, or thru-axle to protect the fork from curving or bending once the front wheel is removed and whilst the bicycle is packed/stored.
Flip your handlebar stem backward to avoid damaging the cables. If it’s too tight to be flipped, create a slack on the brake and shifter cables.
Place a small piece of cardboard in between the brake calliper pads to keep them in their adjusted position.
5. Wrap the frame and parts
Wrap the exposed parts of the frame using pool noodles (sliced open), bubble wrap, or pipe lagging insulation.
Use bubble wrap or foam to wrap detached parts and secure them with zip cable ties or packing tape.
Ensure that the wrap is tight enough so the wrapper won’t move while the moving vehicle is in transit or when the box is lifted and moved around during uplift. This also prevents nicks and scratches on the surface of the parts.
6. Attach removed parts to the frame
Once everything has been wrapped, lay the frame on the ground, with the non-chain side facing you. Carefully position and attach the handlebar and wheels to the frame. Add more foam or bubble wrap if necessary (for additional padding/protection) and secure the parts using cable ties.
7. Place the bicycle in the box
Line the bottom and sides of the box with wrapping paper or bubble wrap. Put the bicycle frame inside the box. Place smaller accessories and other parts that you could not attach to the bicycle frame. Once everything is in place, fill the gaps with crumpled paper, foam, packing peanuts, or other material that may act as a cushion to prevent the frame from moving.
8. Seal the box
Seal the box using layers of packing tape. Make sure all seams are taped properly. Reinforce the bottom of the box with layers of tape. Add “Fragile” labels on all sides of the box so your removalists or friends who will help you move will take extra care in handling the bicycle box.
