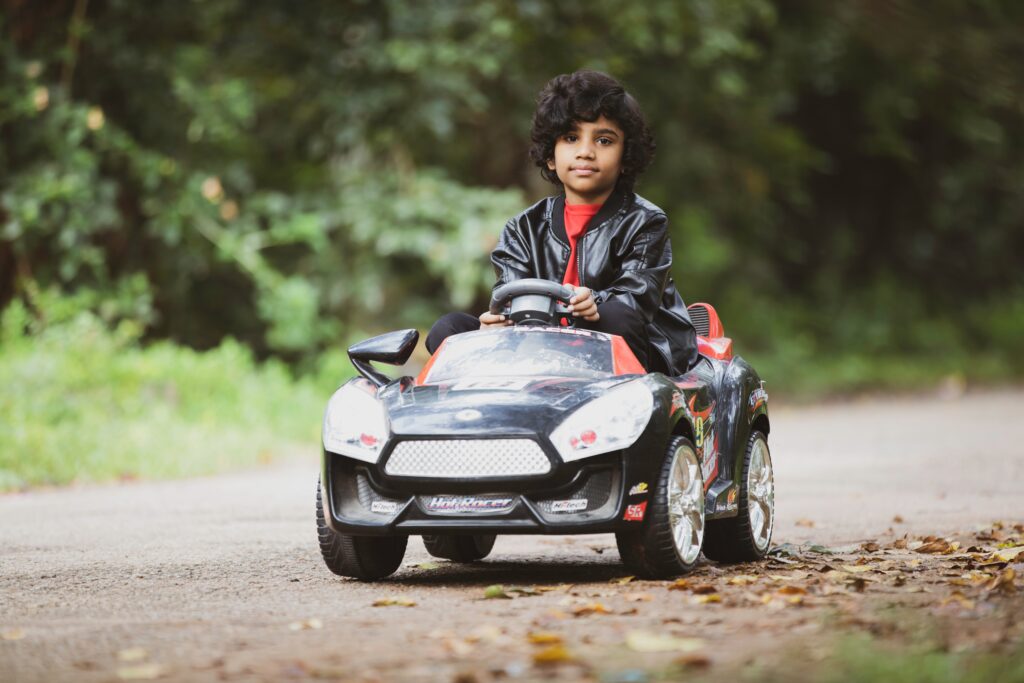
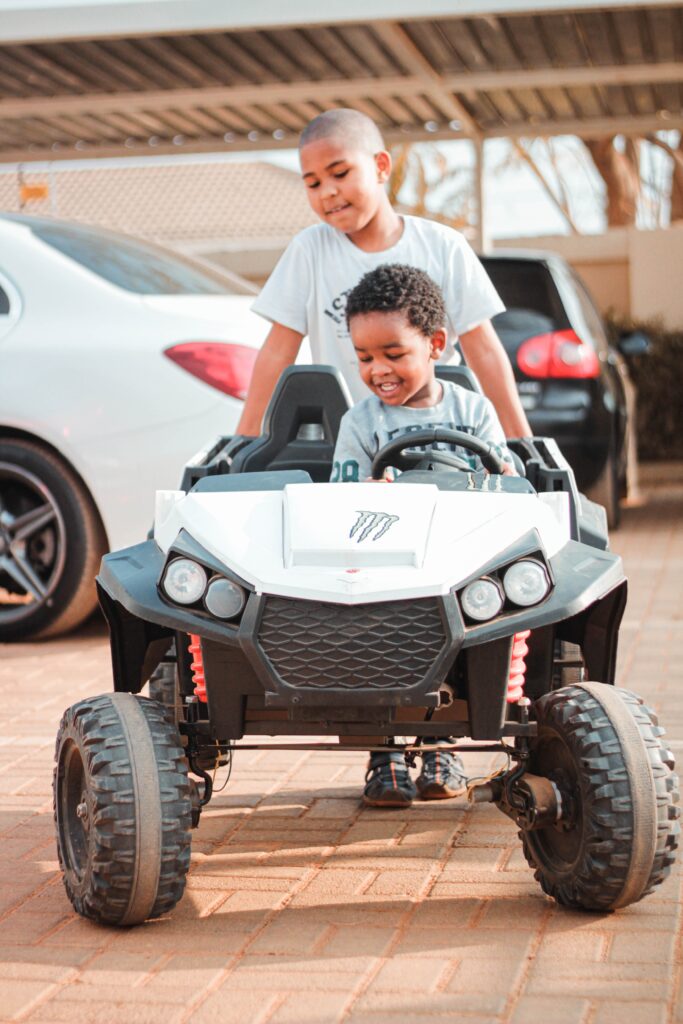
The joy of getting your kids to rideon cars goes beyond putting smiles on their faces, it teaches kids how to be mobile and explore. Ride-on cars have a lot of benefits which include giving your child a sense of independence by exposing them to outdoor activities without making them vulnerable to risks.
There is no doubt that your child’s safety is a priority and it remains a major factor you must consider when shopping for any type of toy for your kid. About safety, ride-on cars are built in a way that makes them super safe for children to use. Ride-on cars have amazing features to ensure that accidents are avoided and the safety of your children is not compromised to as; seat belts, door locks, and parental remote controls.
Modern kids’ ride-on cars are made to high-quality, long-lasting standards, but vigorous play can harm their delicate battery and electrical systems. It’s essential to be knowledgeable about the typical problems that could occur and how to address them if you want to preserve your child’s favorite toy in good functioning order.
In this article, you will learn how to connect a remote control to your ride-on cars. Do you want to know how the parental ride-on car works? This article contains all you need to know. Keep reading!
Parental Ride-on Car
One of the wide varieties of features of the ride-on car is the parental remote control. While we want to ensure that your kids have maximum fun, develop their imaginary skills, and get more familiar with their environment, we also want to ensure that they enjoy maximum protection.
The parental ride-on car has a remote which enables parents to interrupt the action of the car to take manual control if a child is heading towards a dangerous place. It allows parents to do this from a distance. While kids must be supervised when driving their ride-on cars, the parental remote control has ensured that parents don’t necessarily have to follow their children.
You can just sit and watch your kid have fun and remain assured about your kid’s safety through the remote control. Connecting the remote control to the ride-on car for the first time can be quite difficult for parents. These steps will guide you on how to get it done.
Different Types of Remote Control for Ride-on Cars
Parents, by nature makes it impossible not to worry about their children, even when they know in their heart they won’t do anything that will hurt them. Because of this, it’s comforting to get a ride-on toy that includes a parental remote for children. So, rather than chasing after your child if you see them driving toward something they shouldn’t be, you may grab the remote and stop them.
Radio Frequency Remote – The type that is most prevalent on the market today are radio frequency remotes. Similar to how RC vehicles and other small remote-controlled toys interact with the ride-on, these remotes employ radio frequencies. They are so well-liked because they are simple to put up and dependable. They all use the same frequency, which is their one drawback. As a result, if you have two toys with radio frequency remote controls, they won’t function adjacent to one another since their communications will conflict.
2.4G Bluetooth Remote – This remote is starting to be used more frequently to address the aforementioned issue. Since the 2.4G Bluetooth remote employs micro-frequencies, it is possible to use many remotes in the same space without interfering with one another. Setting up could be a little more difficult than with the prior sort, but it’s worth it. Now, families with several young children can utilize more than one ride-on at once.
Smartphone App Remote – This last remote in our guide on how the parental remote works on a kid’s electric car is by far the least common, even though it’s probably the most convenient. With this option, parents no longer have to carry around an extra remote. They can use their smartphone or tablet instead. While that’s a nice feature, setting up this type of remote is quite complicated, and the price of the ride-on will often go in order to integrate this technology.
Regardless of which remote you use, you will have much more peace of mind knowing that you are well-equipped to stop your child from driving somewhere they shouldn’t.
How Do You Connect the Remote Control to the Ride-On car?
Before we get started on how to connect your remote control to your ride-on car, you need to be aware of how it works. Most of the time, the remote control doesn’t come with batteries. So you have to buy that separately.
You should confirm if the manufacturers provide batteries by checking the description of the package content. If at all a battery is not provided, you will be informed of the type of battery that works with the parental ride-on car. Although the type of battery you are going to use depends on the model and brand of the ride-on car, most of them either make use of AAA or AA. Whichever one you choose, ensure that you ascertain the battery that best suits your ride-on car before making a purchase.
Steps to Connecting Remote Control to your Parental Ride-on Car
Do you have issues connecting the remote control to your ride-on car? There is nothing to worry about. Connecting is quite simple and the manuals also state how you can go about it.
These few steps will guide you on how to connect your remote to various brands. You also can follow these steps for Best Choice, Power Wheels, and Costzon ride-on cars. To get started;
- Ensure that the ride-on car is turned off before you connect the remote control. Although, some models instruct that the car be turned on when pairing the remote control. So, you need to verify the state the car should be in when you want to connect it to the remote control.
- Press the power button on the remote control to turn it on. You will need to wait until a blinking LED light shows to know when your remote control can be connected.
- You can then turn on your parental ride-on car and press the pairing button.
- To confirm if your ride-on car is connecting, the LED light will blink quickly. You need to wait until the LED light gets stable. This signifies that your vehicle has been successfully connected to the remote control.
You also need to be a little patient because the pairing button must be left to start up well.
- Test the remote control to check how the vehicle responds to it. You might also need to check how the ride-on car navigates by controlling it to go left, right, or reverse through the remote.
After you have completed the connecting process, ensure that you test the remote control. If it still doesn’t connect, you can start the connecting process again. If your ride-on car needs to be turned on to get connected you can try that as well.
Before you keep it away, be sure to confirm the remote control and if you are satisfied with its operation.
Configuration and Synchronization of a Remote Control for Children’s Electric Cars
It’s extremely likely that once the car has been put together, you’ll be ready to utilize the remote control that came with the item, but you won’t know how to set it up. We offer you a brief instruction if you need help connecting your ride-on vehicle to the remote control.
Here are the measures to take in order to successfully synchronize the remote control with the kids’ electric car:
- The first step is to place the batteries (of the kind specified in the instructions) in the remote control’s compartment on the back of this. Replace the cover after inserting the batteries.
- Verify that the automobile is turned off and that the charger is removed from the charging socket.
- On the left side of the remote control, next to the up and down arrows, press and hold the black forward and backward buttons simultaneously for 3–4 seconds. The remote control’s light will begin to flash.
- Start the car while the remote control’s light is blinking (either using the ignition key or the start button on the dashboard) to synchronize the two devices.
- When the remote control’s light does not change, it means it is already synchronized Check the remote control’s functionality and pairing by using it. If not, stop the vehicle and begin the procedure once more.
Is the remote control for ride-on car not working?
A broken remote control is one of the most frequent problems parents have with ride-on toys. However, parents can try a few troubleshooting techniques to try and fix the issue:
- Check for rust on the batteries.
- Are the batteries installed correctly?
- Are you use the remote control device inside the permitted area?
You can try to re-pair the remote control and the car if none of the aforementioned measures succeed in fixing the problem. Despite the many different types of remotes that are currently available, pairing is usually simple.
Trouble shooting the Batteries
The battery of ride-on automobiles is one of the most frequent problems that arise. There could be a number of reasons why you’re having trouble charging or keeping a charge for a long time, including the following:
Using an Alternative Charger to Charge the Battery. Use only the charger that came with the toy if you want to make sure the battery in your child’s ride-on car lasts a long time and operates properly. Although it can be tempting to use a different charger, doing so could harm the battery beyond repair, making it impossible to charge or maintain a charge. This is one of the typical causes of battery failure.
Batteries with loose or corroded connections. Another typical issue is loose battery connections. But this is simple to correct. Examine the wiring connections to the battery; if they appear slack, firmly insert them into the battery connection port. Your current connectors will no longer transmit electricity to the battery if they appear rusted or oxidized, therefore you must purchase replacements.
Undercharged or Overcharged Batteries – The battery on the ride-on car for your kids should last approximately two years with proper care. The frequency of battery charging and the location of the car’s storage are the important variables here. Extreme heat or cold can shorten the longevity of your battery, so keep the car inside in a dry location. The battery should take longer to charge the first time than subsequent times. Here, we’ve explained how the voltage of your child’s toy affects how often it gets recharged. You should charge the battery frequently, but only during the designated charging periods.
Do You Still Have Issues With Your Remote Control After You have Completed the Process?
Most of the time, the problem can be your remote control. You must ensure that the battery is not dead. You can also buy spares and keep them in case there is an emergency.
It is highly uncommon for a single motor to be defective in isolation and nearly impossible for both motors to fail at the same time because the battery is equipped with not one but two motors. If you believe the motor in your child’s electric car is malfunctioning and it is not moving forward or backward.
As aforementioned, you need to be patient. Take your time to connect the remote control. Ensure the remote control doesn’t get broken.
When attempting to accelerate the toy, place your ear close to the seat. Without any movement forward or backward, you can hear a clicking sound, which could indicate a problem with the motor controller. Get in touch with the store you bought it from for a replacement if your toy is still covered by warranty.
How to Protect the Wheels of a Kid’s Ride-On Car and Increase Traction
The majority of ride-on toy automobiles have stiff plastic wheels, while there are several wheel types available. Although these wheels are appropriate for indoor usage, they can be damaged and lose traction when used on unforgiving outside surfaces like gravel or concrete.
Think about encircling the plastic wheels with rubber mountain bike tires to enhance traction and safeguard the wheels.
Conclusion
Although connecting your remote to your parental ride-on car is quite simple, it requires time to connect. The remote control is an amazing feature of the ride-on car to ensure the safety of the child and minimizing risks. It allows you to supervise your child at a distance and you can interrupt the manual mode whenever your child is heading in a dangerous direction.
It’s important to confirm that your remote control has been connected by testing it. Try navigating it and see how the ride-on car responds to the remote control.
While we are concerned about making the kids happy, it is important to ensure that their safety is not compromised. Ensure that the ride-on car, remote control, and batteries are well stored.


