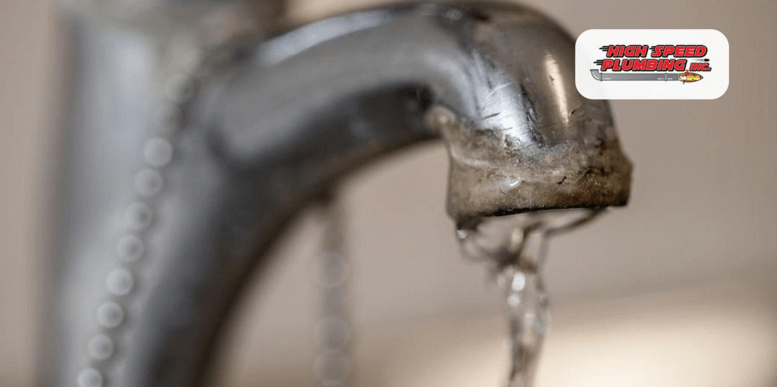
Perhaps your existing faucet has malfunctioned as a result of old age, or maybe you’re considering upgrading your faucets as part of your kitchen or bathroom renovations. Whatever the case, a new faucet can be an easy way to refresh the look of your kitchen or bathroom. In addition, upgrading your faucets comes with a range of benefits, including improved functionality, reliability, and efficiency.
Installing a new faucet is one of those DIY plumbing tasks that you can tackle yourself with a few tools and a bit of effort and know-how. In this article, High Speed Plumbing of Fullerton explains how to install a new faucet in a step-by-step guide. We are a professional plumbing service you can rely on for all of your residential and commercial plumbing needs, including faucet installation, sewer line repair, leak detection, and expert drain cleaning in Glendora. Read on to learn how to install a new faucet with ease.
Materials and Tools
- Adjustable wrench
- Pliers
- Screwdrivers (flathead and Phillips)
- Bucket or towel
- Plumber’s tape
Step 1: Turn off the water supply
Locate the shut-off valves under the sink, one for hot water and one for cold water. Turn them clockwise until they stop completely. Open the faucet handle to release any remaining water pressure.
Step 2: Disconnect the water supply lines
Using the adjustable wrench, loosen the nuts that connect the water supply lines to the old faucet’s shanks. Be prepared for some dripping water, and place the bucket or towel under the connections to catch drips.
Step 3: Remove the mounting nuts
Under the sink, locate the mounting nuts that hold the faucet in place. They’ll usually be around the base of the faucet, where it meets the countertop. Use a wrench or pliers to loosen and remove these nuts.
Step 4: Take out the old faucet
Once the water lines and mounting nuts are disconnected, you should be able to lift the old faucet out from above the sink.
Step 5: Prepare the new faucet
Most faucets require wrapping the threads where the water supply lines connect with plumber’s tape. Wrap the threads clockwise in a few layers to create a watertight seal.
Step 6: Position the new faucet
Carefully insert the new faucet through the holes in the sink, ensuring a snug fit. From underneath the sink, place the mounting nuts and any washers or spacers that came with the faucet onto the threaded rods.
Step 7: Secure the faucet
Tighten the mounting nuts securely with the wrench or pliers, but avoid over-tightening. You want the faucet to be stable without cracking the sink.
Step 8: Connect the water supply lines
Screw the water supply lines onto the corresponding hot and cold shanks of the new faucet. Tighten the nuts snugly with the wrench, again following the plumber’s tape application instructions for these connections.
Step 9: Test the faucet
Turn on the water supply valves slowly and carefully. Open the faucet handles and check for any leaks around the base of the faucet or at the connections. If you see leaks, tighten the connections or re-wrap the threads with plumber’s tape as needed.
Need Help? Call High Speed Plumbing of Fullerton
Sometimes, you can encounter difficulties during faucet installation due to a number of reasons. In this case, you need help from a skilled and experienced plumber. High Speed Plumbing of Fullerton is the name you can trust for all of your plumbing needs. Whether you’re in need of faucet installation service or expert drain cleaning in Glendora, our team of plumbers is ready to help.
