As one of the most durable and versatile materials, stucco is a construction material which is applied on the exterior of a building to protect the outer surface from natural calamities. While it is marked as a durable material, often due to weather change, the material wears & tears with time. You might notice cracks and holes which require occasional filling. If not fixed in the early stage, an entire portion can peel off the exterior of the building, diminishing the look of the building. As a homeowner, one should always look for moisture oozing out any area of the stucco exterior and get it sealed immediately to prevent further damage by doing it yourself or hiring stucco contractors to undertake this task for you.
Signs When Your Exterior Stucco Needs Fixed
Following are the signs to look for:
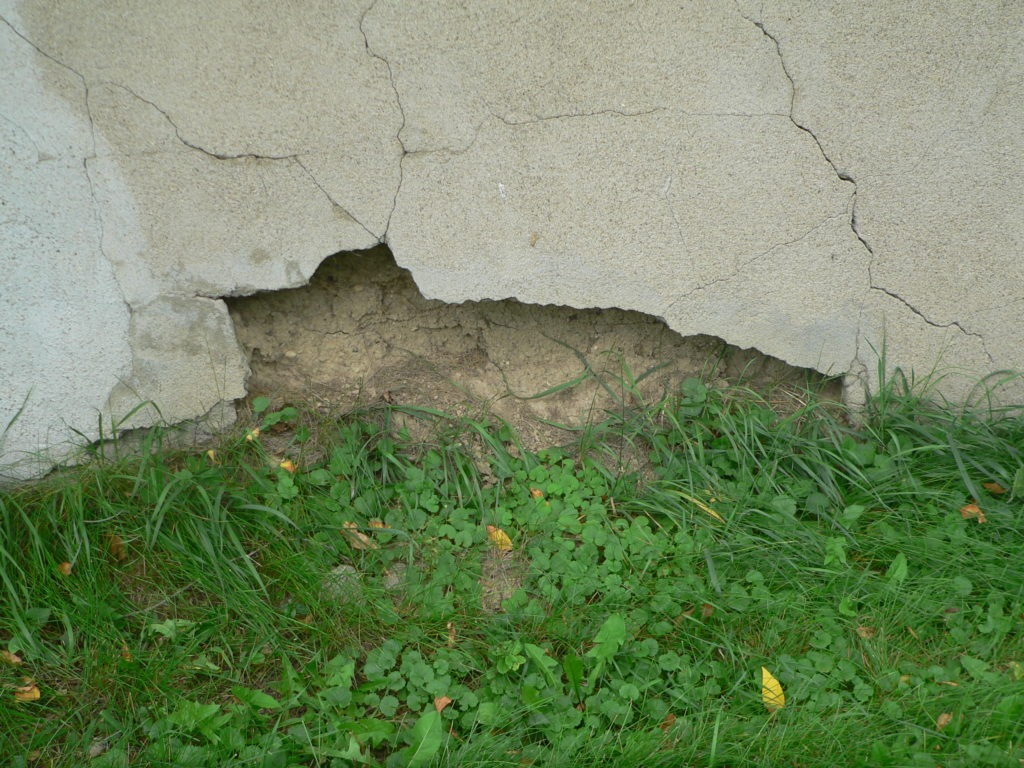
- Small or large cracks: If you find a small hairline crack within your stucco, you’ll need to fix it immediately. Cracking does not mean that the entire stucco is damaged, but it does mean that the crack should be patched as soon as possible.
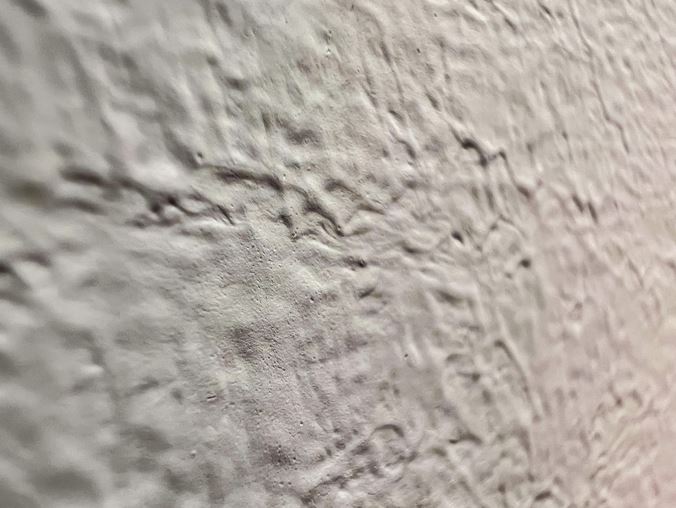
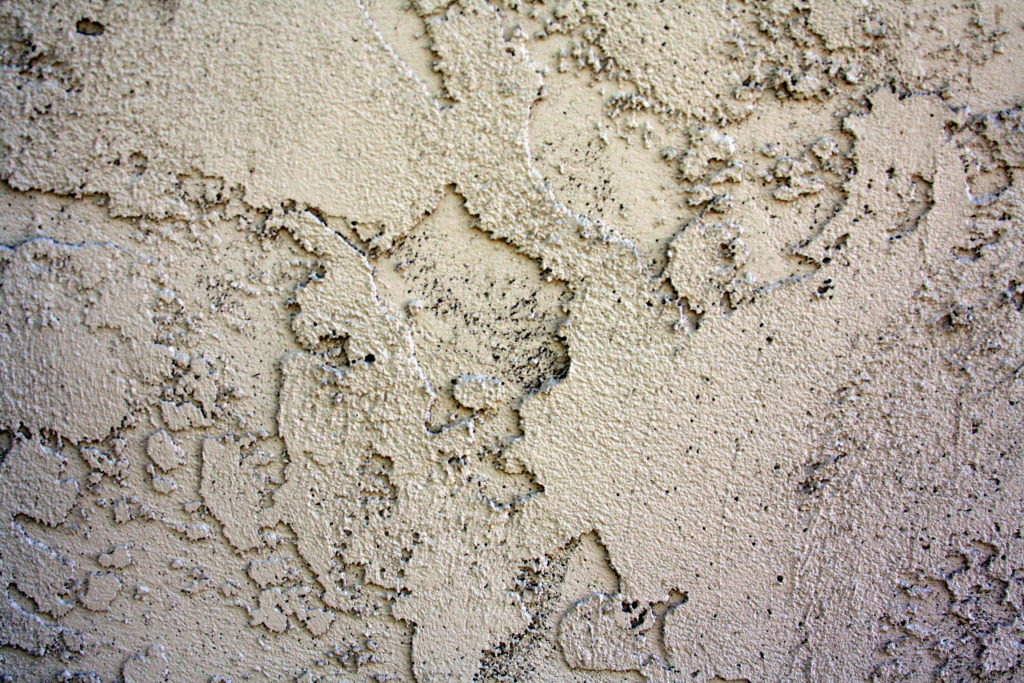
- Bubbles along the edges: Often caused by poor drainage systems, leakage of water from the stucco walls is a common issue in homes consisting of stucco exteriors. If you see bubbles oozing out of the stucco wall, it probably means the stucco wall is on the verge of getting damaged or is already damaged by an accumulation of moisture.
- Cracking near the windows: One of the most common stucco moisture absorptions is seen near or around the house’s windows. In such a case, if you find cracking or dampness in the stucco near the window area, you might have to fix your window and have your stucco exterior inspected for moisture damage.
How can you Stop and Fix Exterior Stucco Bubbling?
While if the cracks are large and the pores are multiple, calling a professional stucco company will be the best and most prompt option, but if the bubbling is not so severe, you can easily fix it yourself with little to no problem and no assistance needed. There are certain tips and tricks that need to be followed to stop the bubbling and blisters from the stucco wall. But before getting into the steps to fix the bubbling issue, you need to first find out the root cause and get it fixed.
- As most stucco bubbling issue is caused due to poor drainage system, you need to call a professional to improve the drainage system of the house and surrounding building.
- Check for the space under floorboards to ensure easy evaporation of water (moisture) from the soil. The vapours need to pass through vents inside the walls easily.
Now let’s check out what are the steps to fix exterior stucco bubbling:
Step 1: Remove the loose stucco
With the help of a chisel or hammer, you need to scrap the damaged stucco or debris. Don’t forget to scrap off some of the areas around the damaged part to help the new layer stick well to the wall.
Step 2: Remove house wrap or lath
The house wrap needs to be cut off, and the lath needs to be removed under the damaged portion of the wall.
Step 3: Installing new lath and house wrap
As per the size of the area damaged, cut the house wrap accordingly and then secure it firmly with a staple gun. For installing a lath, you need to cut pieces of metal lath as per the size and staple them to the wall. Concerning smaller cracks and blisters, you can skip the removal and installation of house wrap and lath steps.
Step 4: Mix and apply the stucco coating
Now there are two kinds of stucco repair mix, one is the pre-mixed ready-to-use stucco finish, and the other is the conventional stucco product that you need to mix instantly before application. The pre-mixed one can be directly applied to the patched area with a trowel. For the conventional one, use a plastic tray or wheelbarrow and work as per the instruction of the bottle. Next, apply the first coat (scratch coat) and etch the surfaces with a knife/trowel to prepare for the next coat.
Once it dries up, apply the second coat by following the same process.
Step 5: Final finish
Once both the coats have dried up time for a final finish. Paint the wall with the colour matching the rest of the wall, and you are all good to go!
There are several causes of exterior stucco bubbling, including:
1. Moisture Buildup
Water leaking beneath the finish on stucco wall surfaces is a common reason for the finish to blister or bubble. Pressure may increase as water builds up in one spot, eventually causing the finish to blister. If the stucco is weak at the surface, it could eventually fall apart.
2. Improper Installation
If the stucco is not put properly, air pockets may occur, and the stucco may bubble.
3. Poor Quality Materials
When installing stucco, using cheap materials might cause the finished product to bubble over time.
4. Lack of Proper Maintenance
Stucco bubbling and other types of damage can result from improper care and a delay in fixing small fractures or leaks.
5. Expansion and Contraction
Changes in temperature and humidity can cause outside stucco to expand and contract. This may result in the stucco cracking and bubbling over time.
6. Structural Movement
A building’s foundational structure shifting might result in bubbles and cracks in the stucco. This is especially prevalent in older structures or those with foundation issues.
It is critical to treat bubbling stucco right away to stop future damage and preserve the building’s architectural appeal. Sometimes the stucco may need to be changed if a problem is ignored for a long time.
How to Clean Stucco the Correct Way
Among many property owners today, stucco is still a common choice for building materials. Any property outside can be improved using stucco, which also serves as insulation. Being made of sand, concrete, and limestone, it is also environmentally sustainable.
However, due to its rough surface, stucco can gather a lot of dust, grime, mold, and algae. These contaminants have the potential to inflict long-term harm in addition to aging the appearance of a building over time. As a result, you need to pay attention to and carefully maintain your stucco surface. Surfaces made of stucco should ideally be cleaned two to three times a year.
How is the exterior stucco cleaned? Here is a step-by-step instruction sheet for cleaning exterior stucco:
Step 1 – Inspect the Stucco Surface
The first thing you need to do is look for any evidence of deterioration on the stucco surface. Search for any openings, such as cracks or gaps.
If you wash without first checking the stucco surface, water may seep in between the cracks. Mold and mildew may begin to form as a result. As many people are aware, dampness is the perfect environment for mold and mildew to grow. This may occasionally result in water damage to your walls.
Step 2 – Seal Any Cracks
It is essential to fix any cracks you do notice in your stucco surface before cleaning. Minor damage is simple to fix by yourself. This may consist of microscopic chips and hairline fissures.
Use an external acrylic caulk that closely resembles the color of your stucco surface to patch up small damage. Most neighborhood stores and major home improvement retailers carry this. To repair the cracked or chipped area, caulk it.
Sand or any other material with grit can then be used to simulate the texture of the stucco surface. Make sure the caulk is still wet before pressing the coarse stuff onto it. Prior to washing the stucco, allow the caulk to dry.
Step 3 – Rinse
Cleaning the stucco surface is the next step after carefully checking it and fixing any cracks. You must first thoroughly rinse the surface with water. This will remove any stray dust, dirt, or debris. For this, you can use a pressure washer or an ordinary garden hose with an attachment.
Use a 25- or 40-degree nozzle and a pressure of 1,500 PSI or less when pressure washing stucco. Because stucco surfaces are porous and sensitive, applying too much pressure could result in damage. The distance between the nozzle and the stucco surface should be at least 24 inches. Rinse the surface in a steady stream at a 45-degree angle to prevent damage.
Step 4 – Apply the Cleaning Solution
Knowing which cleaning solution to use is essential to learning how to remove stains from stucco. To get rid of stains, combine water and liquid dish soap. You must use a stronger solution, such as bleach and water, if there is mold or mildew growth. Use a solution of equal parts water and bleach for the former.
Step 5 – Scrub
To fully remove stubborn stains, give them a little extra care with the use of a brush. If using a spinning brush attachment or by hand, be careful to use a soft-bristle brush to scrub the stains out. Section by section, scrub the spots while applying forceful but mild pressure.
Step 6 – Rinse Again
Re-rinsing the stucco surface with water is the last step. When done correctly, this will remove both the solution and all associated contaminants.
Working your way from the top to the bottom, rinse the surface using the pressure washer. For this, you can use a 25- or 40-degree nozzle tip. If you choose the 25-degree tip, be careful to keep 24 inches between you and the surface to prevent damaging it.
Durability of Stucco
Stucco, when properly maintained, can last a remarkably long time, often exceeding 50 years. In some cases, stucco can even last over a century. The durability of stucco is influenced by several factors:
- Quality of Installation: The longevity of stucco significantly depends on the quality of its initial application. Proper installation, including the correct mixing of materials and application techniques, is crucial for stucco’s durability.
- Climate and Weather Conditions: Stucco tends to last longer in dry, mild climates. In areas with heavy rain, extreme humidity, or frequent freeze-thaw cycles, stucco may require more maintenance and might not last as long.
- Maintenance Practices: Regular maintenance is key to extending stucco’s lifespan. This includes repairing cracks, sealing around windows and doors, and ensuring good drainage around the building to prevent water intrusion.
- Quality of Materials: The quality of the stucco mix and any added reinforcing materials can affect its durability. Higher quality materials generally contribute to a longer-lasting finish.
- Paint and Coatings: The type of paint and protective coatings applied to stucco can also impact its lifespan. High-quality, breathable coatings can protect stucco from moisture and UV damage.
- Building Movement: Structures that experience minimal settling or movement over time will likely see longer-lasting stucco finishes, as constant movement can cause cracking and deterioration.
By addressing any issues promptly and performing regular inspections and maintenance, stucco can remain in good condition for many decades, making it a durable and cost-effective option for building exteriors.


