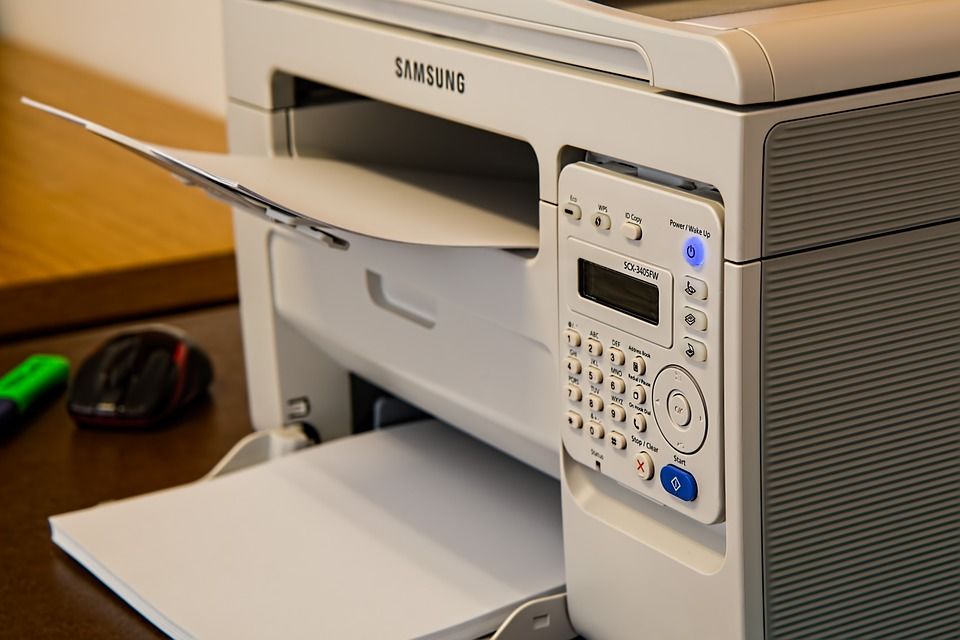
So what are the factors that would cause a toner cartridge change? A printer requires maintenance every now and then. The most common reason to change a toner cartridge is when it runs out. The following are the reason you need to change your toner cartridge.
-
When a printer starts to send a low toner warning message then it needs to be changed. The message is populated when the toner is only capable of printing about a hundred pages.
-
When you get an unreliable toner cartridge that fails to deliver it should be retired. If a particular toner brand seems to have some shortcomings then you need a toner change.
-
When you are having difficulties changing the toner in your printer even though it needs to be changed.
-
If there is an appearance of streaks and any other indication that the toner is not in perfect condition.
Working With the Model Name
Apart from the brand name, the printers come with a model number. The easiest way to identify a particular printer is through the model name. To change the toner cartridge, first, you need to identify the model name. It will help you to choose the right toner cartridge at the local vendor or online catalogs.
Rarely do sales people fail to identify a toner cartridge through the model number (name). However, if they face difficulties locating the cartridge then you can furnish them with your serial number. It’s also good to note that even compatible toner manufacturers rely on model numbers to identify their toners. It’s easier for everyone when model numbers are listed that way.
Guide on How to Replace a Toner Cartridge
The process of replacing a toner cartridge is fairly simple. But if you feel the process is a bit intimidating you can refer to the guide book that comes with every printer.
-
First, you need to remove the spent cartridge, meanwhile, unbox the new toner cartridge. If you are using the Brother DCP-L2550DW toner compatible toner then you should be careful when removing it from the box.
-
Turn off the printer and remove the lid where the toner cartridge is held. In most cases, the toner cartridge is left with minimal printing capacity as you will notice.
-
Lift out the brand new toner from the box. Remove the protective tape. You should be careful not to spill toner over your fingers. But if it does spill, you can wash it off with cold water.
-
Next, fit the new toner cartridge to the printer as the instructions in your manual. You should ensure that the cartridge is firmly held in the normal position.
-
Once the toner cartridge is firmly set in the right position you can return the cover.
-
Turn back the printer on, and print a few pages to test whether the toner is functioning correctly.
Lastly, you will only be able to grade your work by the type of printouts you get. If they come out looking nice and clean then you have done an awesome job. If not, you need to repeat the process as you check for any errors that could have occurred. You’d be surprised to know that the problems could even be an unfixed or loose wire.
However, some problems might be a result of the choice of toner. Usually, there are three types of toner cartridges namely; original equipment manufacturer, compatible, and remanufactured toner cartridges.
At times, the compatible and remanufactured toner cartridges will churn out different printouts from the previous cartridge. If that happens, you can change the cartridge to see whether you’ll get different results. If the problem persists, you can check other parts of the printer and seek the help of a qualified technician to help you find the cause of the problem.

