With the rise of online learning, the need to record and share information has only increased, making a screen recording a must-have skill for many. However, one common challenge that users face when screen recording is recording protected videos.
Protected videos, such as those found on streaming platforms like Netflix, cannot be quickly recorded due to content protection measures. But with the right tools, it’s possible to screen record protected videos, and iTop Screen Recorder is one tool that can help you do that.
iTop Screen Recorder is a powerful and user-friendly screen recording software for Windows 10 users. It offers a range of features that make it a versatile option for screen recording, including audio and video recording, editing tools, and more. This article will explore the power of iTop Screen Recorder and show you how to screen-record protected videos.
How to record protected screen videos?
Recording protected screen videos can be challenging, but with iTop Screen Recorder, it’s simple. Here’s how to do it:
Step 1 – Download and Install iTop Screen Recorder: Before starting recording, you’ll need to download and install iTop Screen Recorder on your Windows 10 computer.
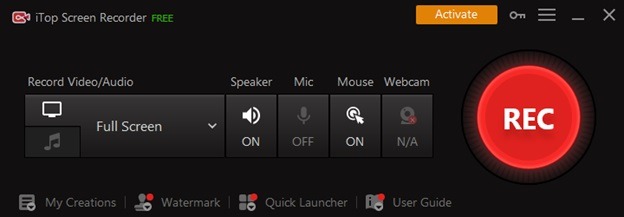
Step 2 – Select Video Recording Mode: Once you have iTop Screen Recorder installed, open it and select the Video Recording mode. You can choose to record the entire screen or select a specific region to record.
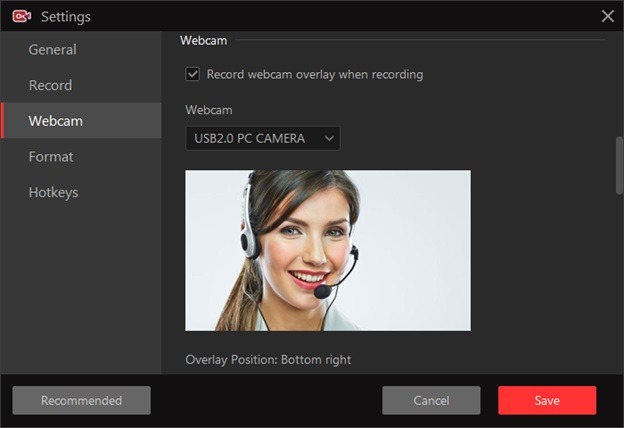
Step 3 – Adjust Video and Audio Settings: You can adjust the video and audio settings to meet your needs. You can choose the recording quality and size and whether to record system audio or microphone audio.
Step 4 – Start Recording: When you’re ready to start recording, click on the “Start Recording” button. iTop Screen Recorder will start recording your screen, including protected videos.
Step 5 – Stop Recording: Once you’ve finished recording, click on the “Stop Recording” button to stop the recording.
Step 6 – Edit and Enhance Your Recording: If desired, you can use the built-in editing tools in iTop Screen Recorder to trim, merge, and enhance your recording. You can add text, images, and more to make your recording more engaging and professional.
Step 7 – Save and Share Your Recording: Save your recording and share it with others. You can export your recording as a video file and transfer it online or save it later.
With these simple steps, you can easily record protected videos using iTop Screen Recorder. Whether you’re recording a tutorial, presentation, or video content, iTop Screen Recorder makes it easy to capture and share your screen with others.
Top of Form
Conclusion
Whether you’re new to screen recording or an experienced user, iTop Screen Recorder has everything you need to create high-quality recordings and share your knowledge and ideas with the world. So, if you’re looking for the answer of how to screen record protected videos easily, look no further than iTop Screen Recorder.


